
Image by Viget Labs
concept
During the semester of Spring '19, I had the opportunity to take the class "Designing a Science Exhibit". Fellow students and I quickly realized it wasn't like any other class we'd taken before. We were grouped and given a small portion of a grant Fiske Planetarium had received. Over the semester we were tasked with prototyping and evaluating an exhibit centered around solar magnetism. The following summer a few students, including myself, were hired to take what was learned in the class and produce a final exhibit.
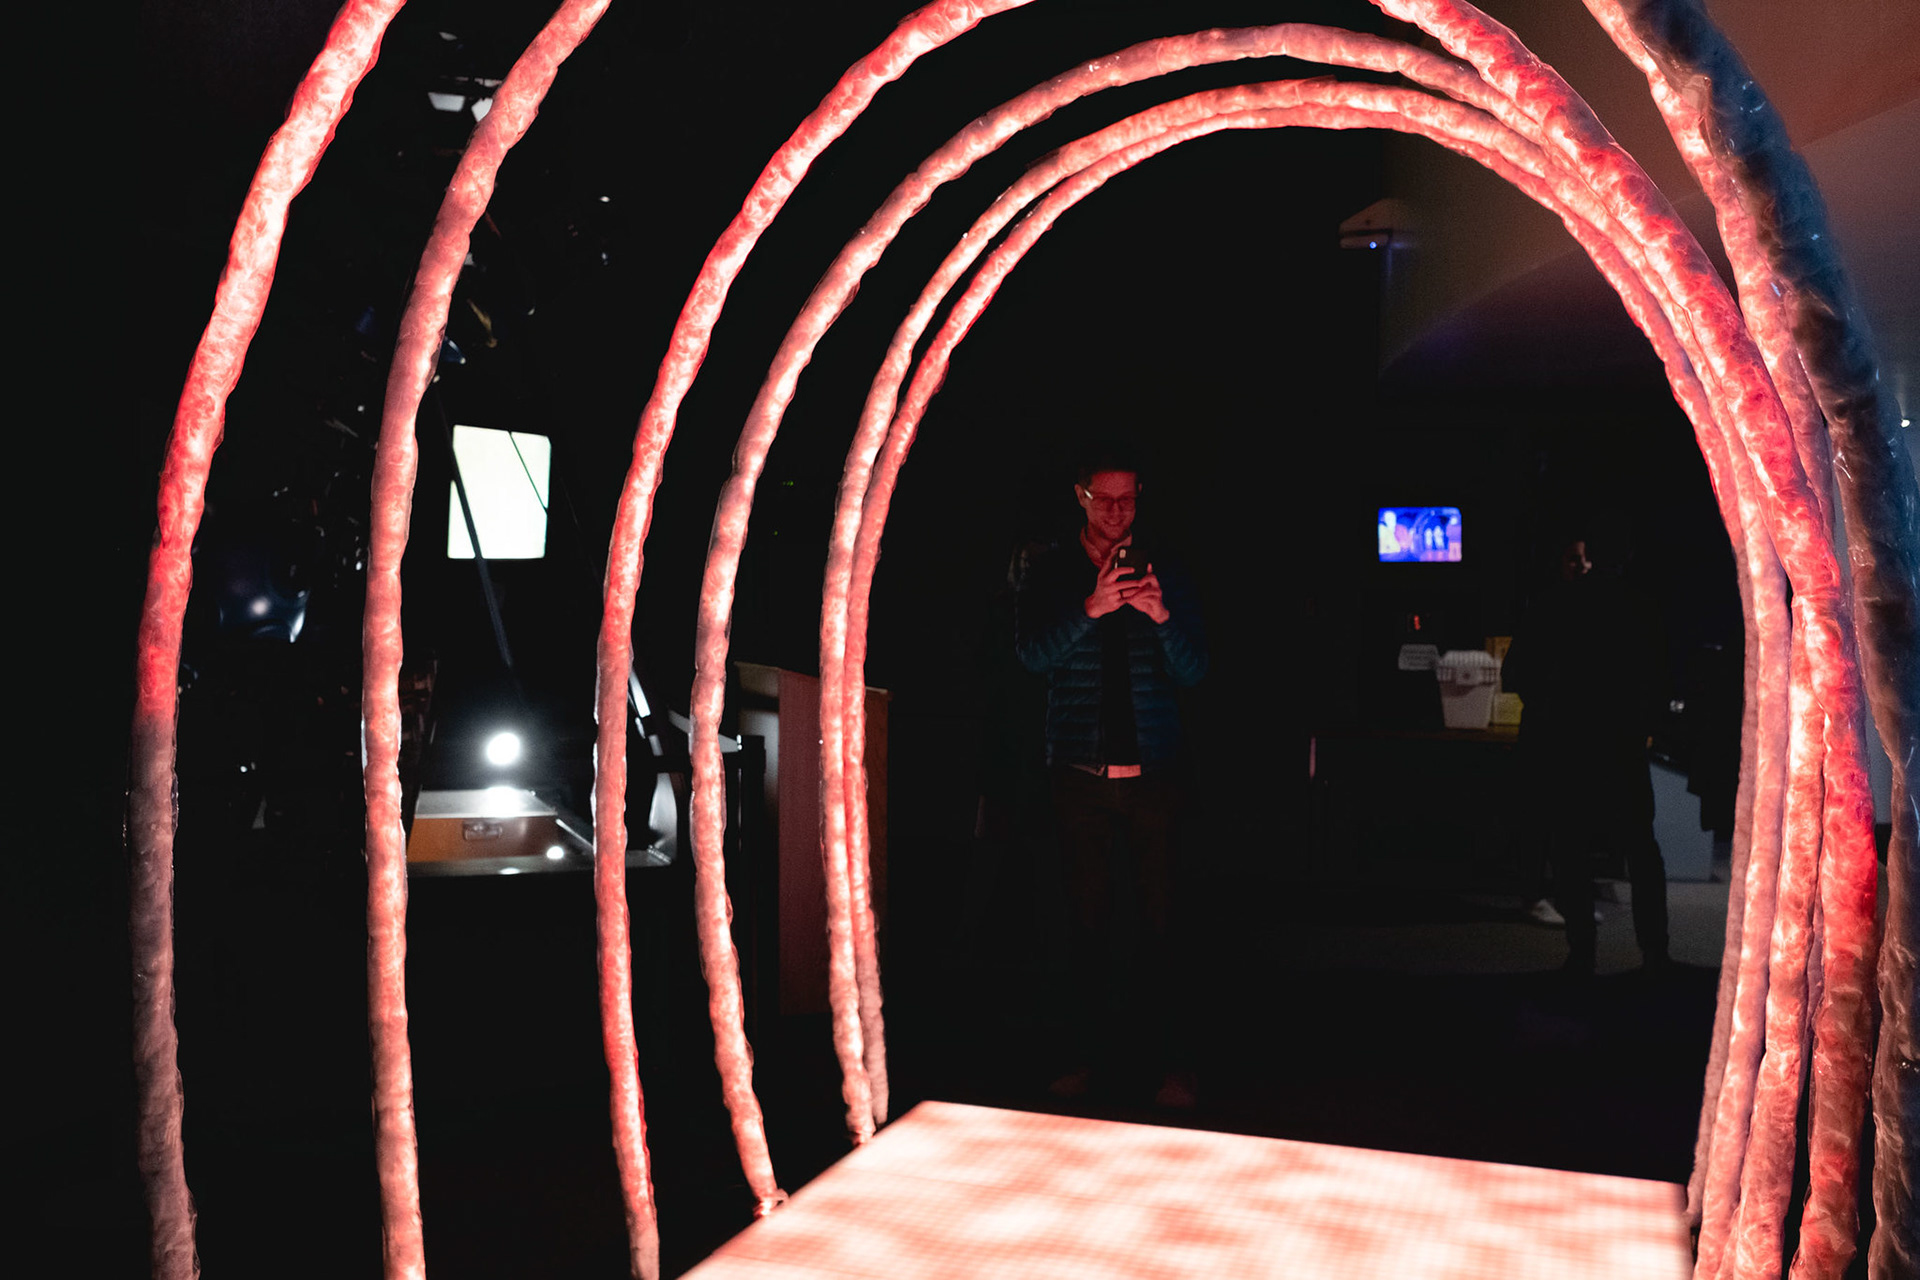
The basis for the summer project was a prototype called the "Solar Arcade". At the time it consisted of a red felt walkway (the surface of the sun) under six 8-foot LED loops. There was a pressure pad where the loops could be activated to demonstrate coronal mass ejections. Taking that as a starting point, we decided to emphasize the Sun's shifting surface to illustrate how these dynamic motions create and influence coronal loops.
process
The summer consisted of a couple weeks of prototyping, testing LED grids with different diffusion layers before settling on 1" thick HDPE to protect and support patrons walking on it. After that, we began planning and constructing five 2ft x 6ft panels that could be connected together to form a large LED screen. The panels use laser-cut MDF to evenly space addressable LED strips. A processing sketch written by another teammate is run on a Raspberry pi and displayed on the panels. Multiple Adafruit Fadecandy's instruct the LED strips how to function.
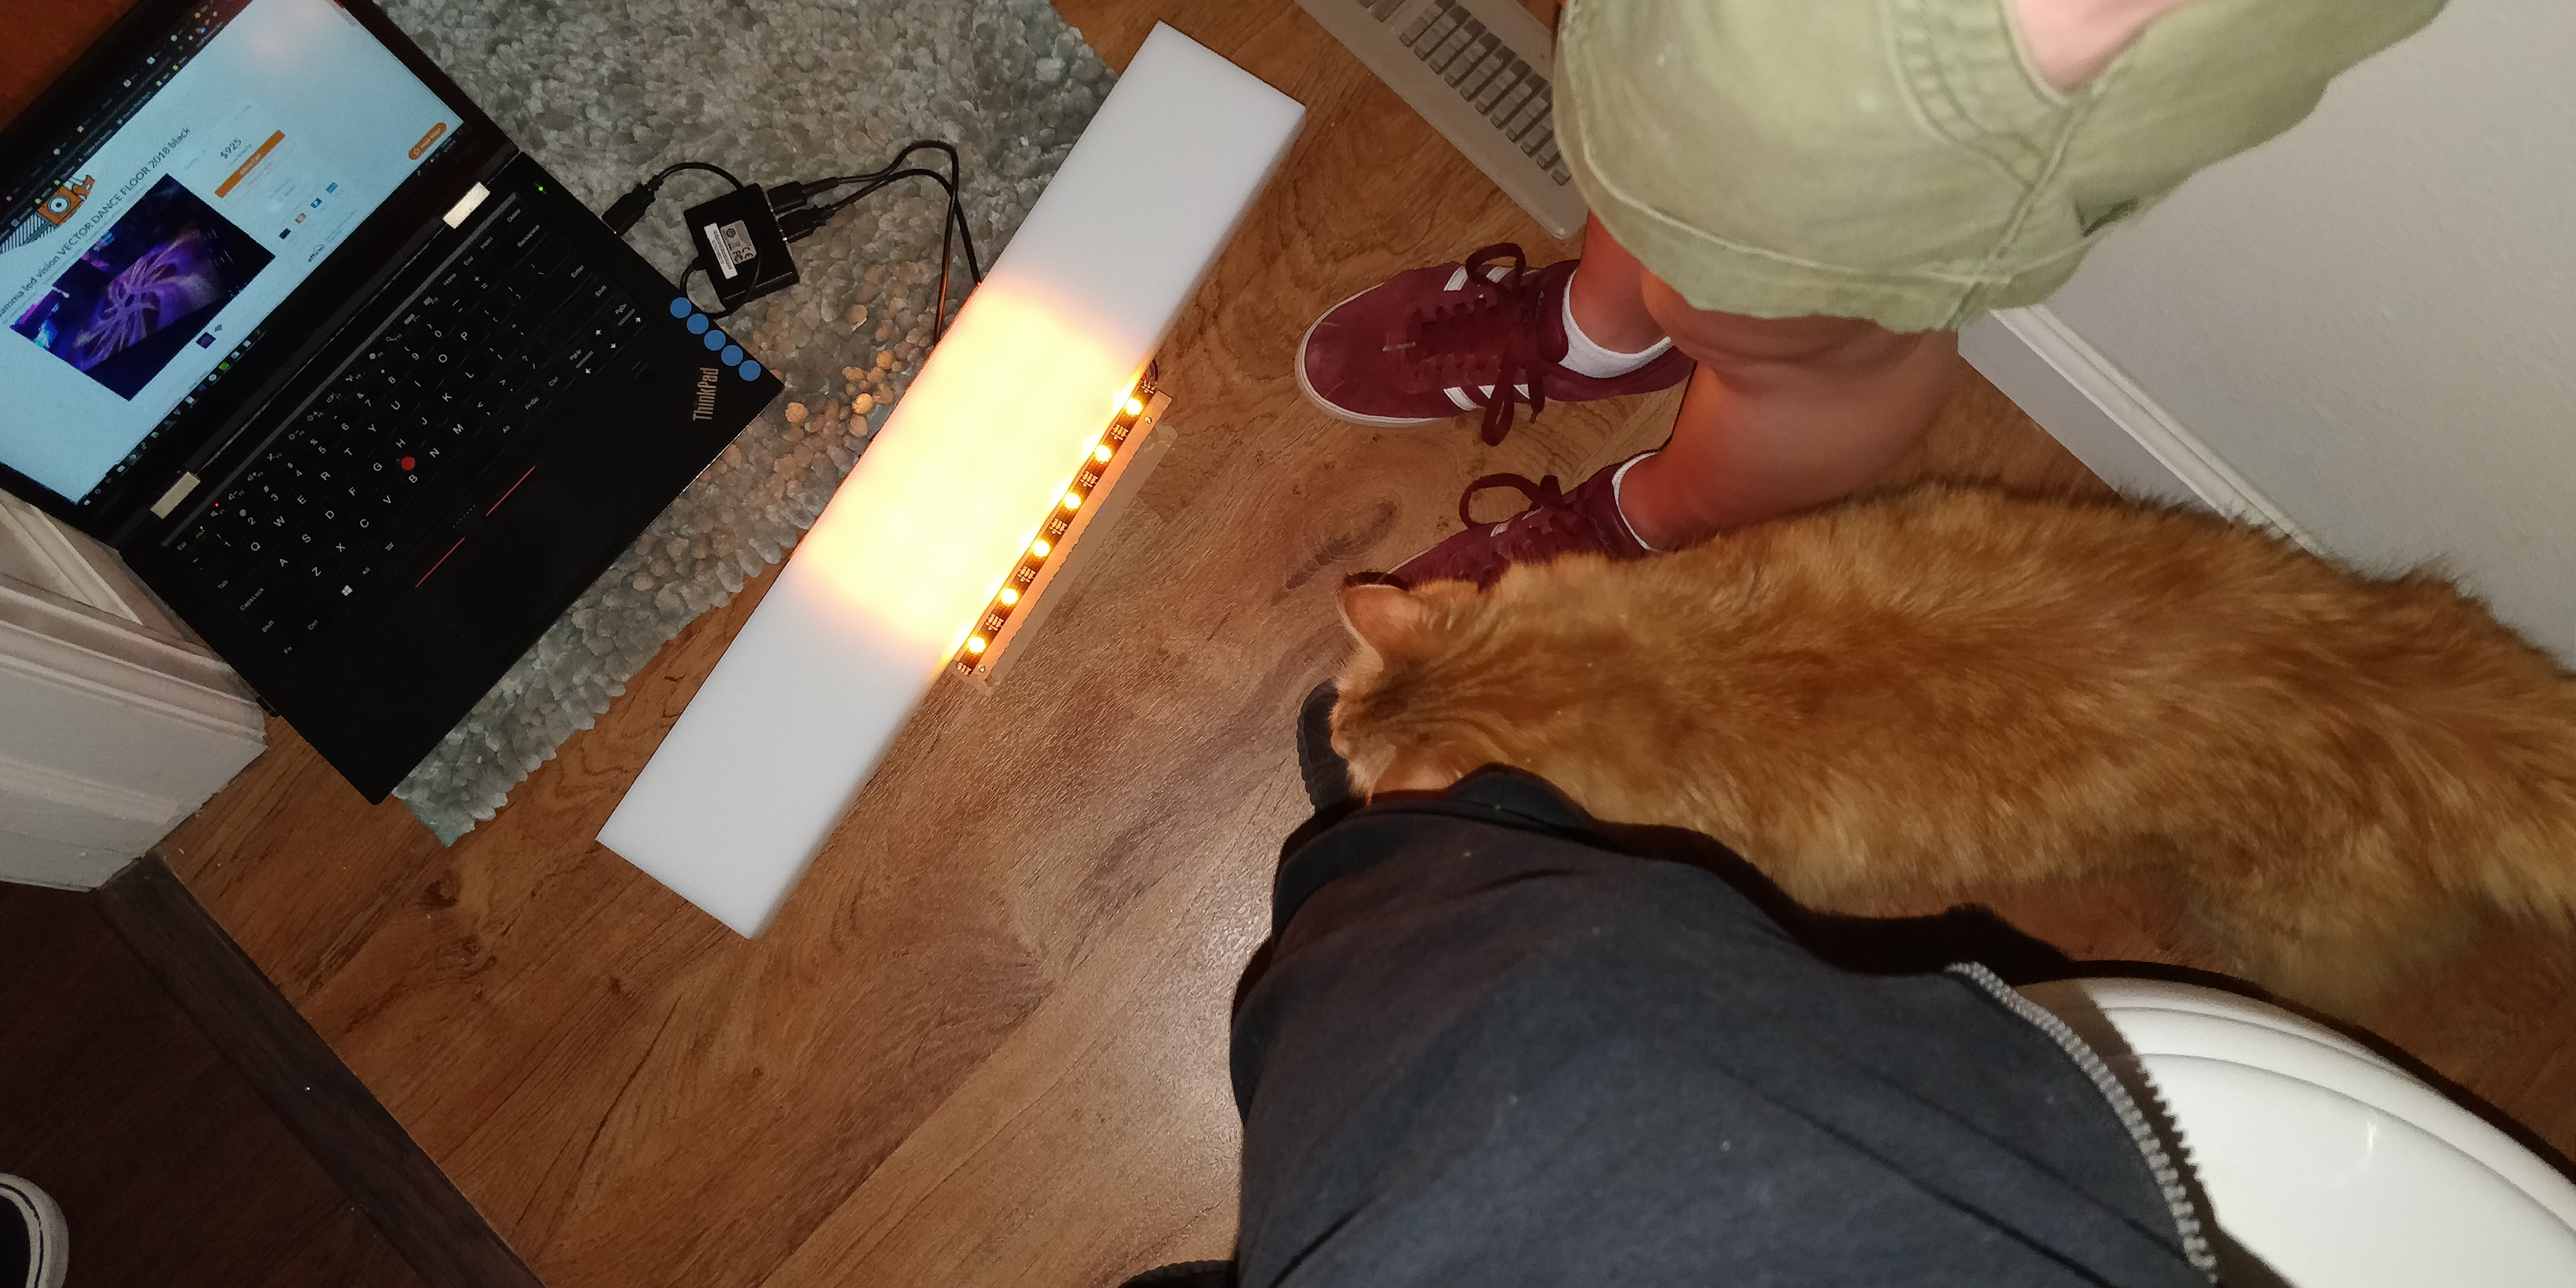
Pete's cat helping us test LED diffusion.
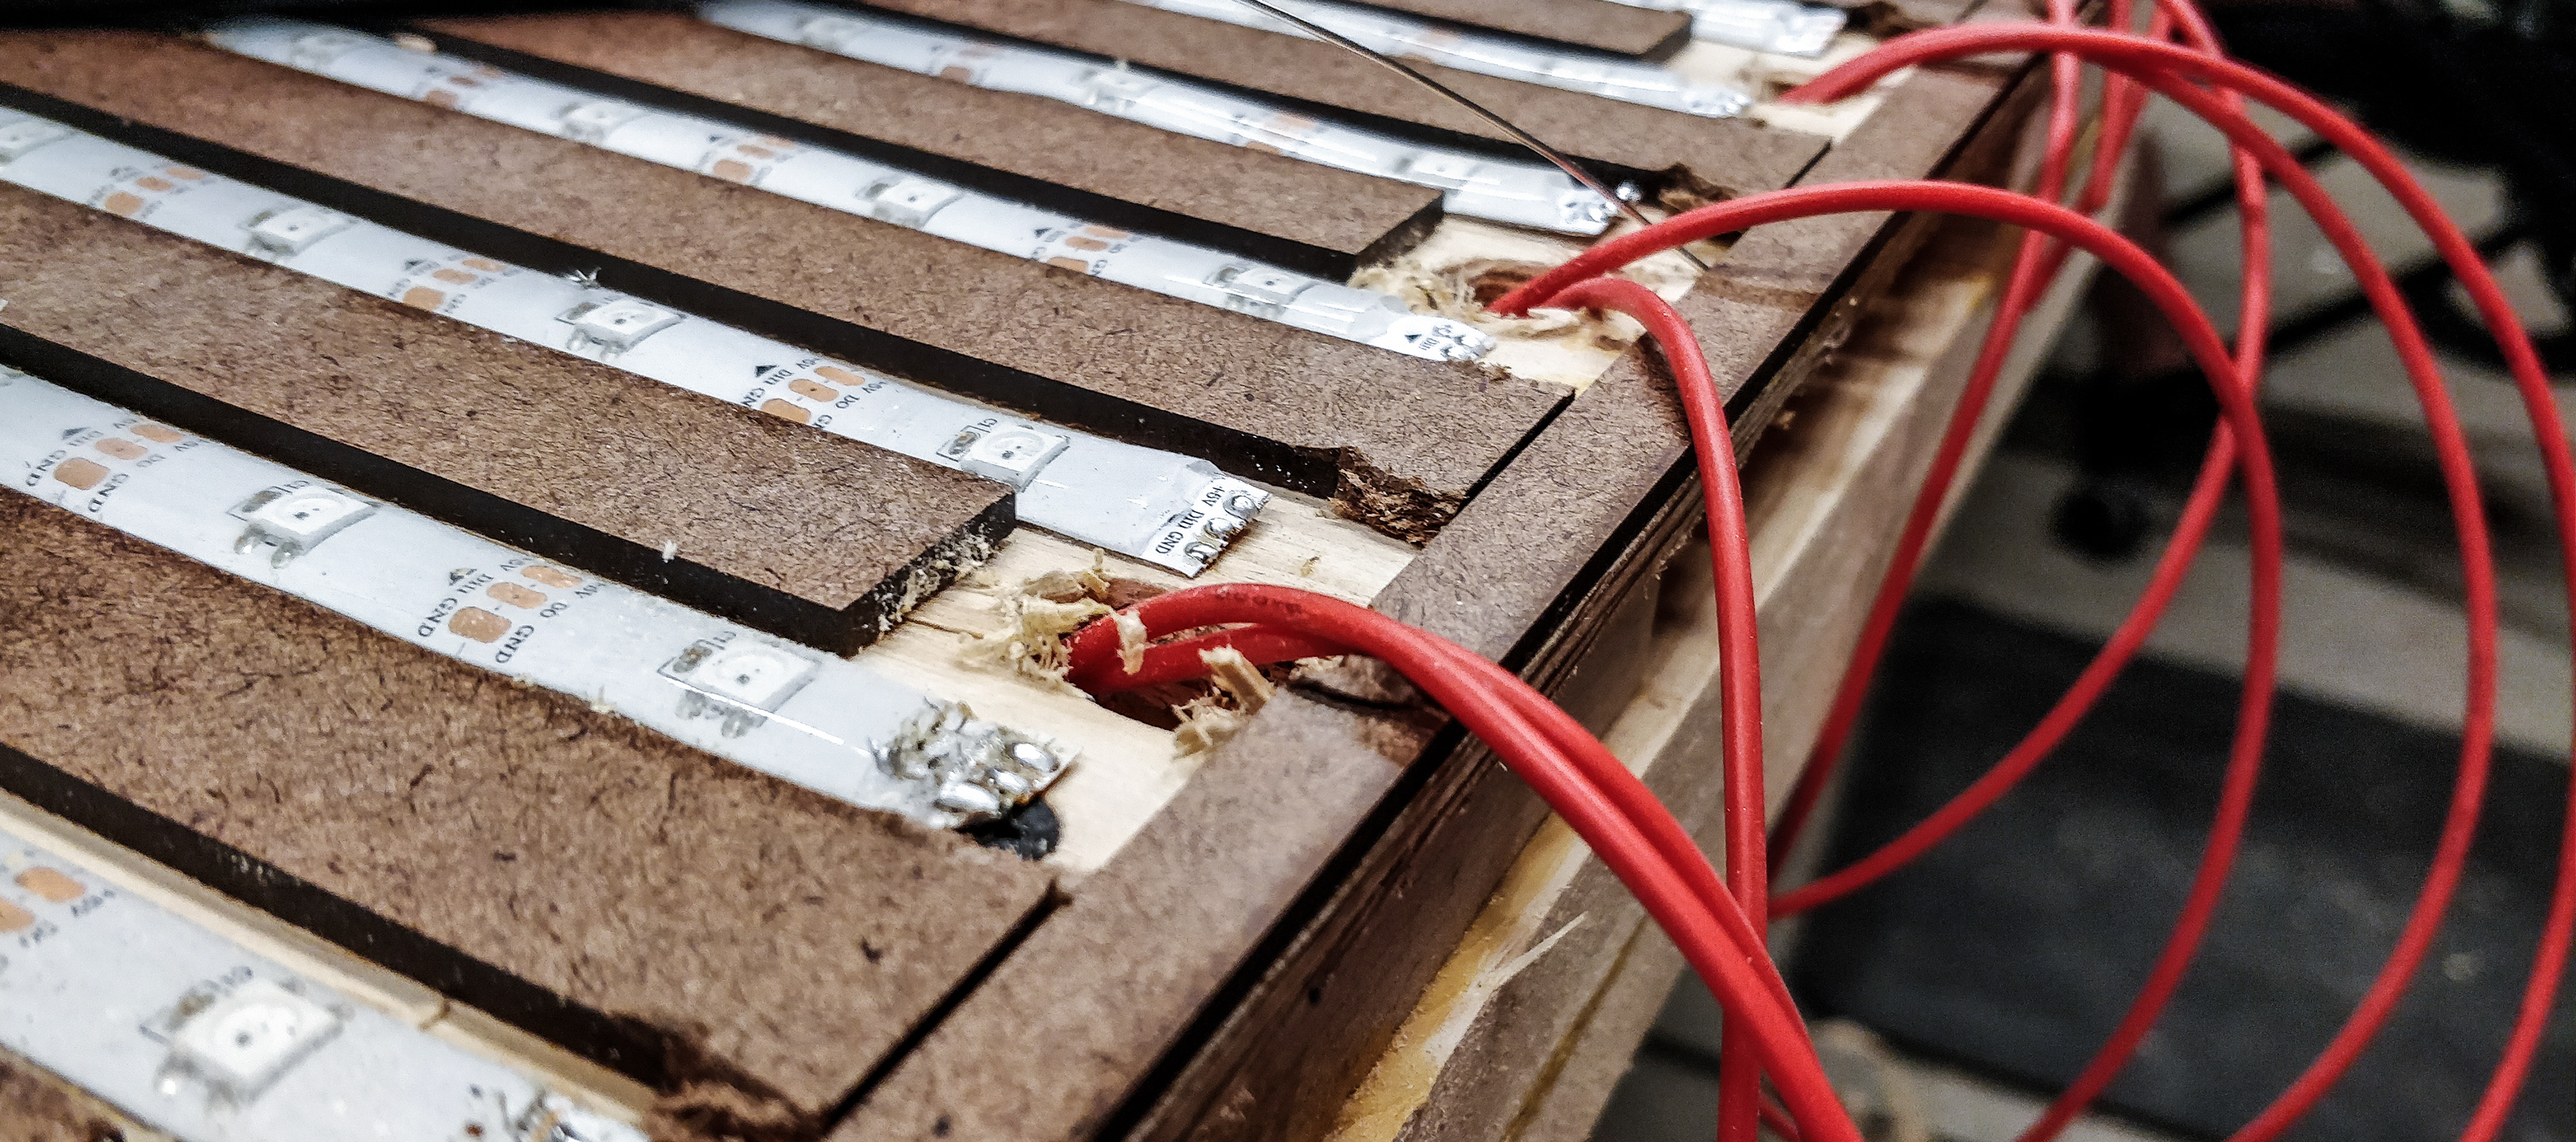
Wiring the LED strips.
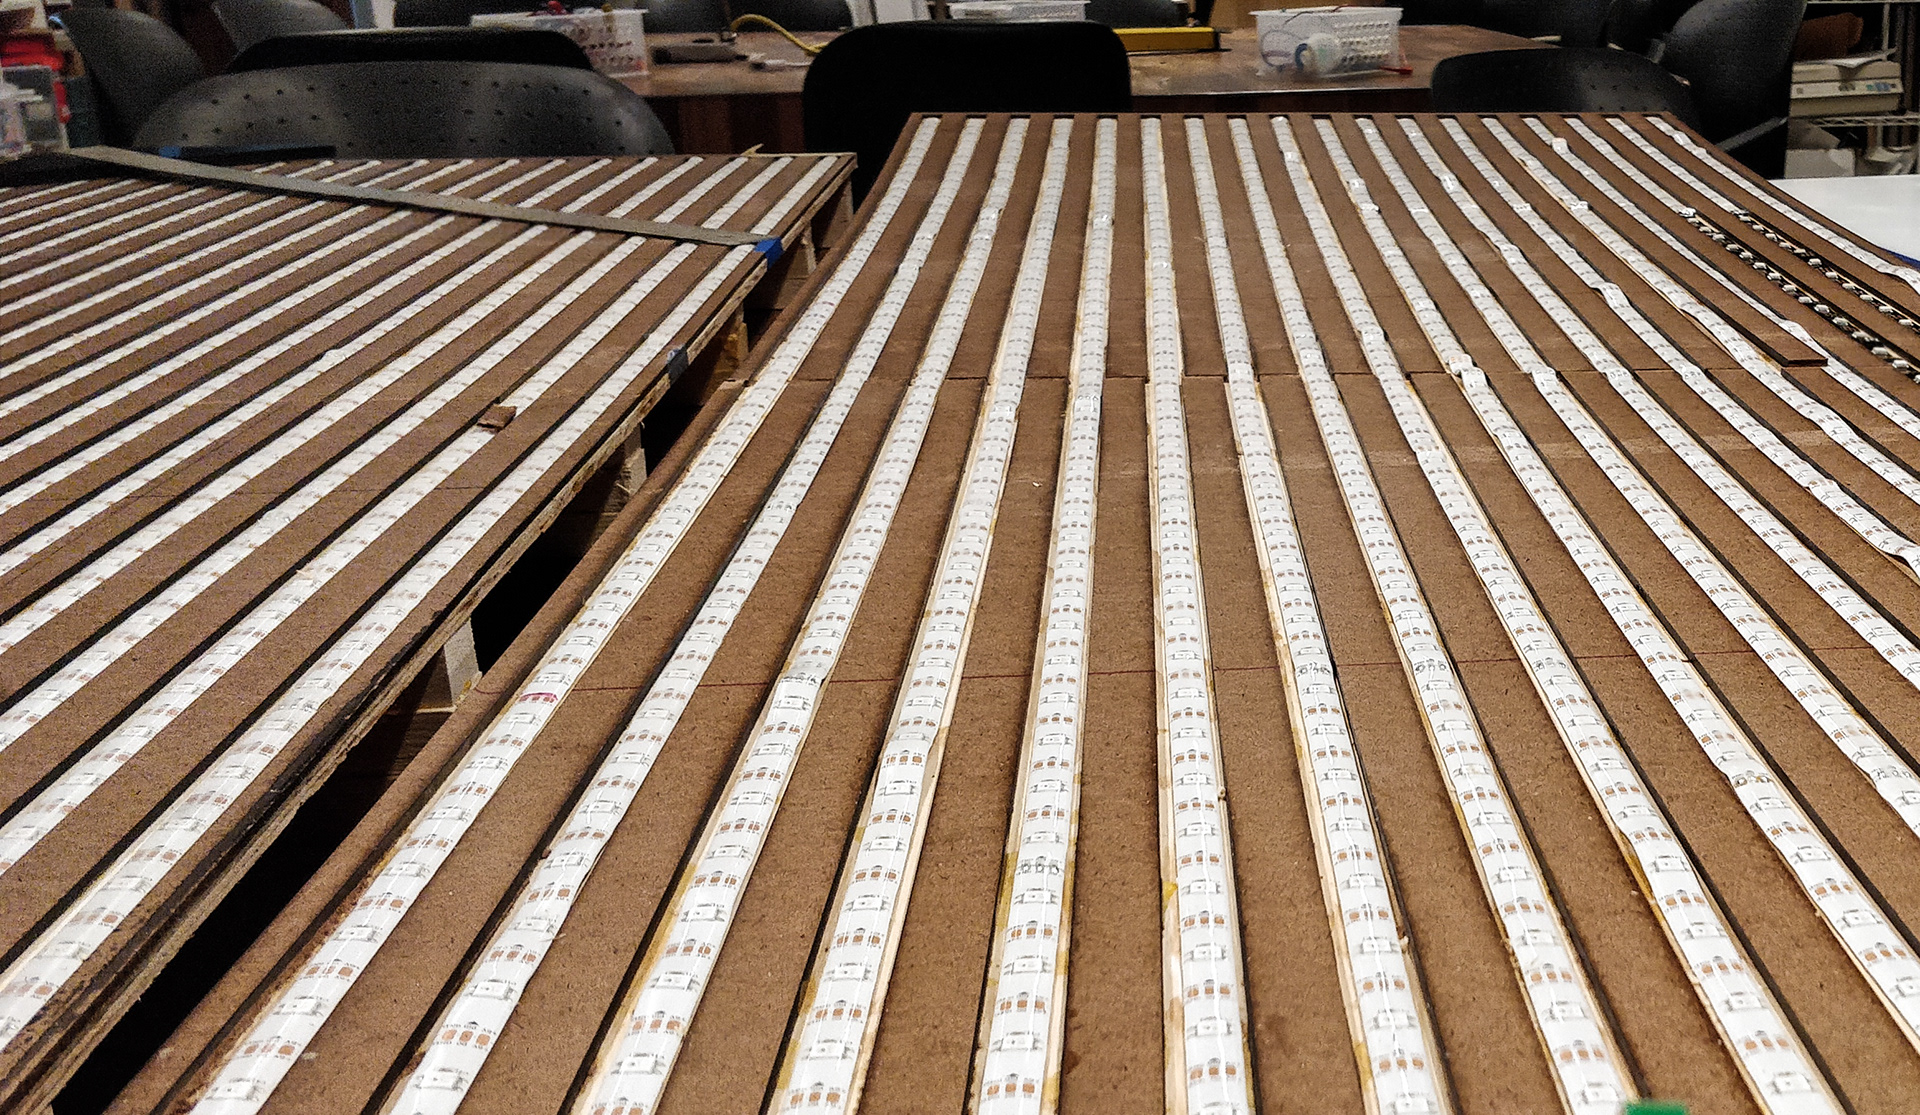
LED strips laid out in MDF channels.
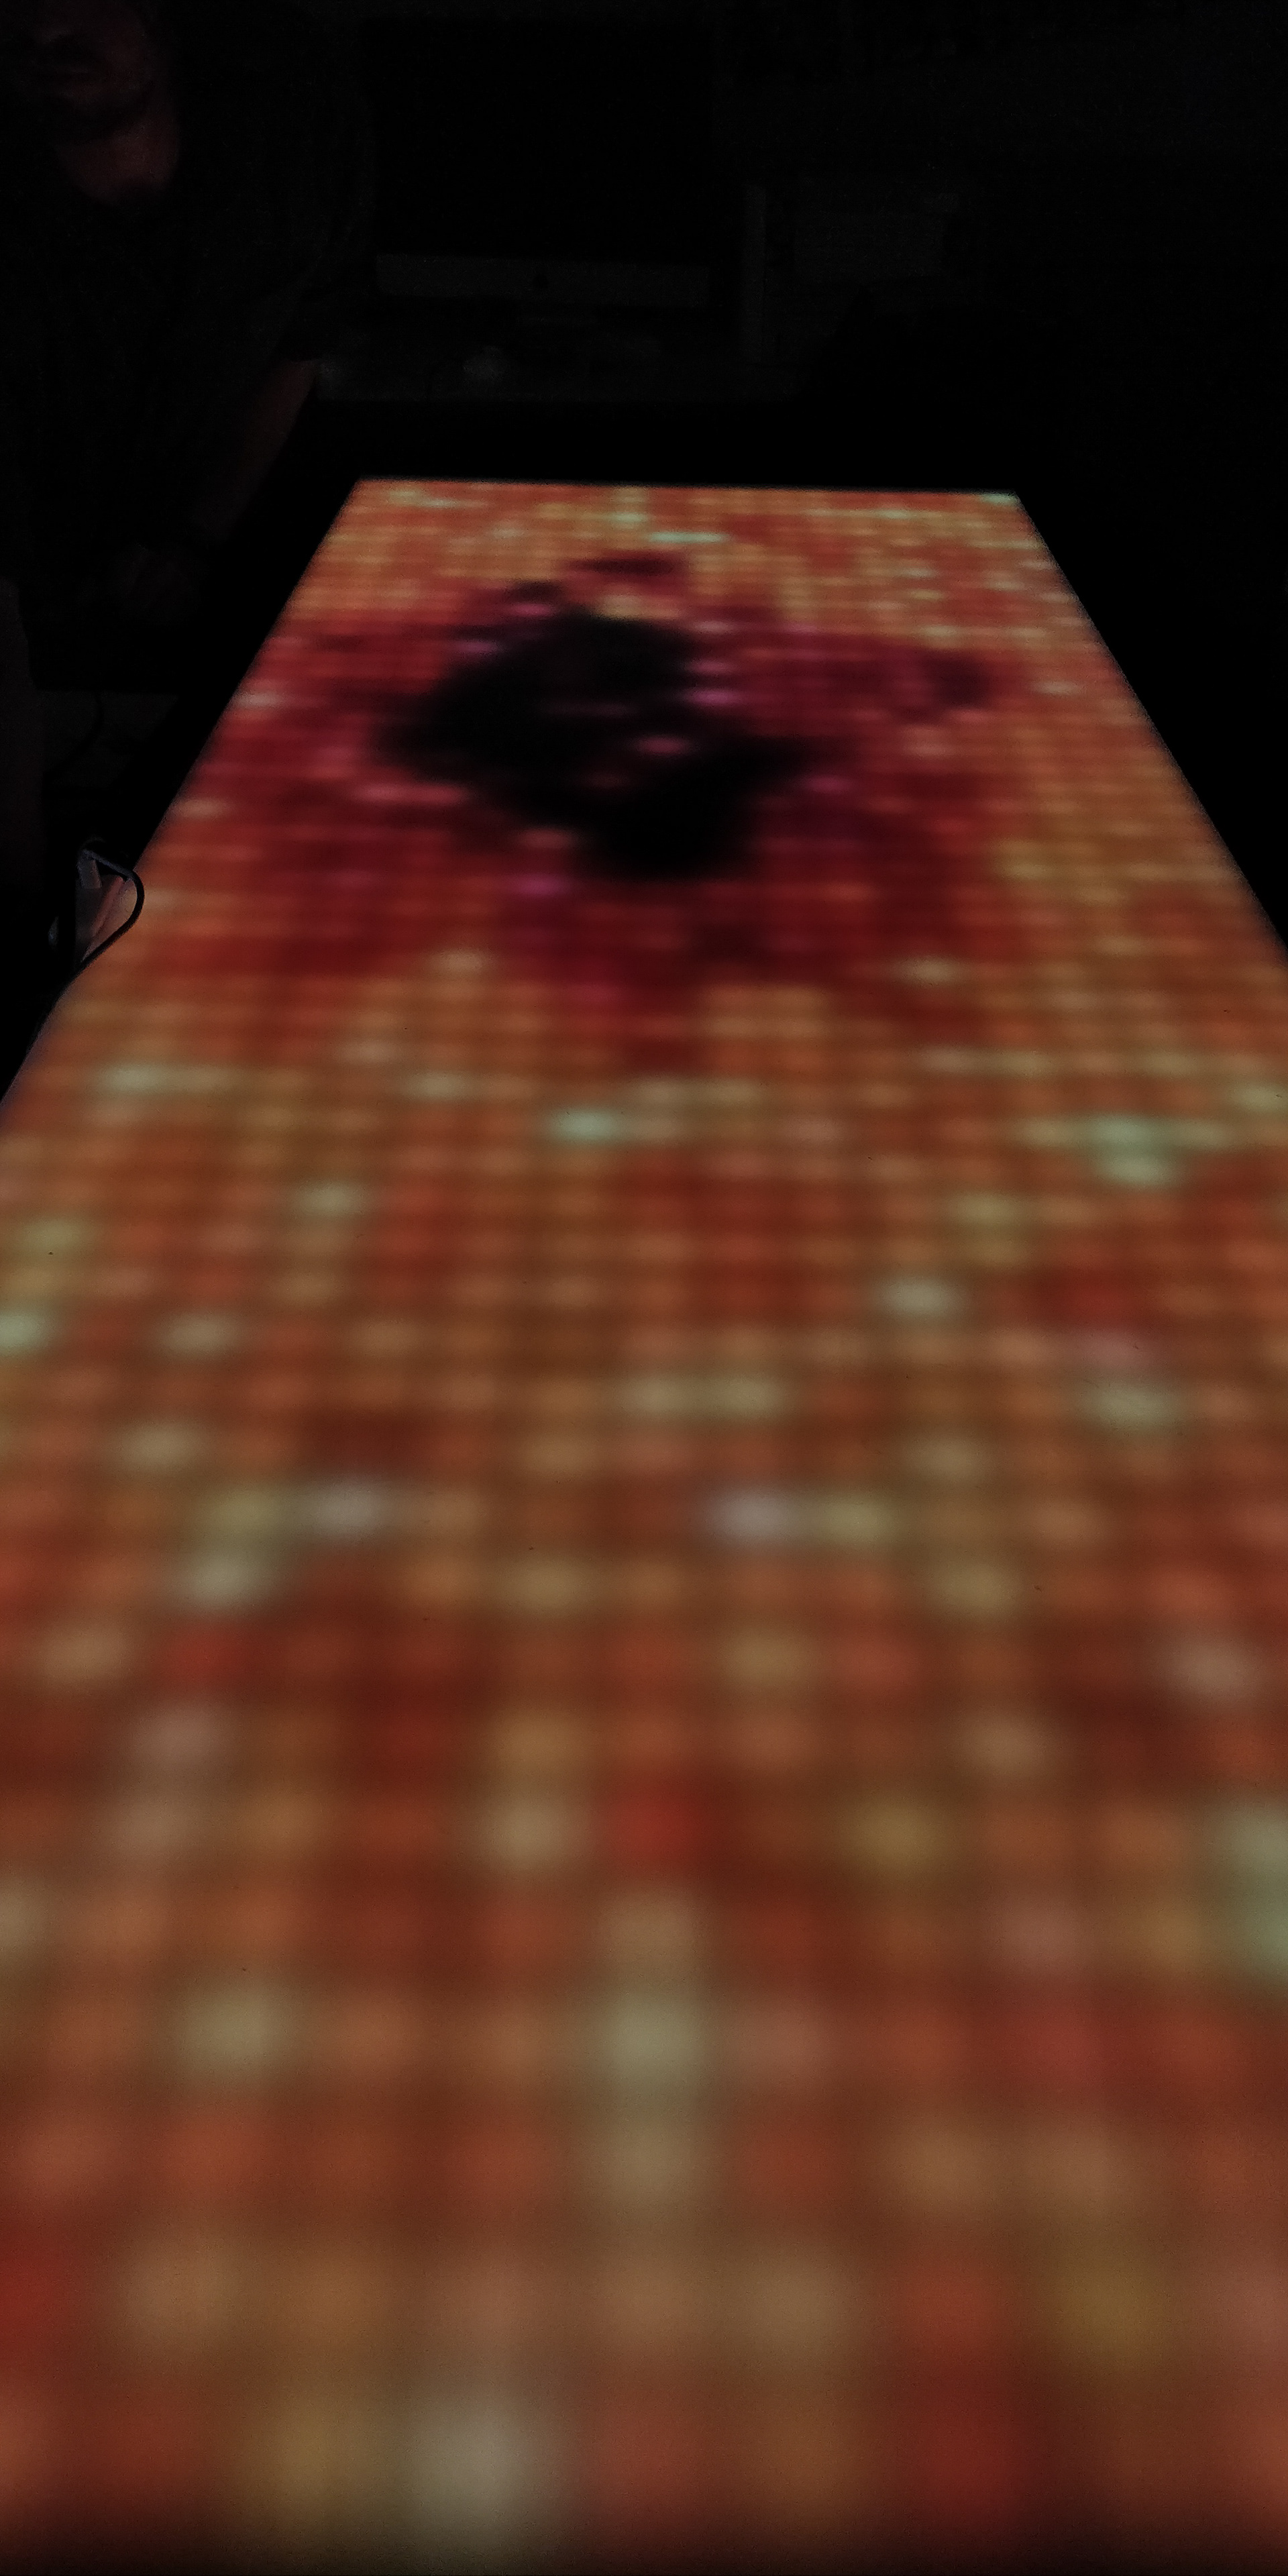
One panel illuminated to show a sun-spot.
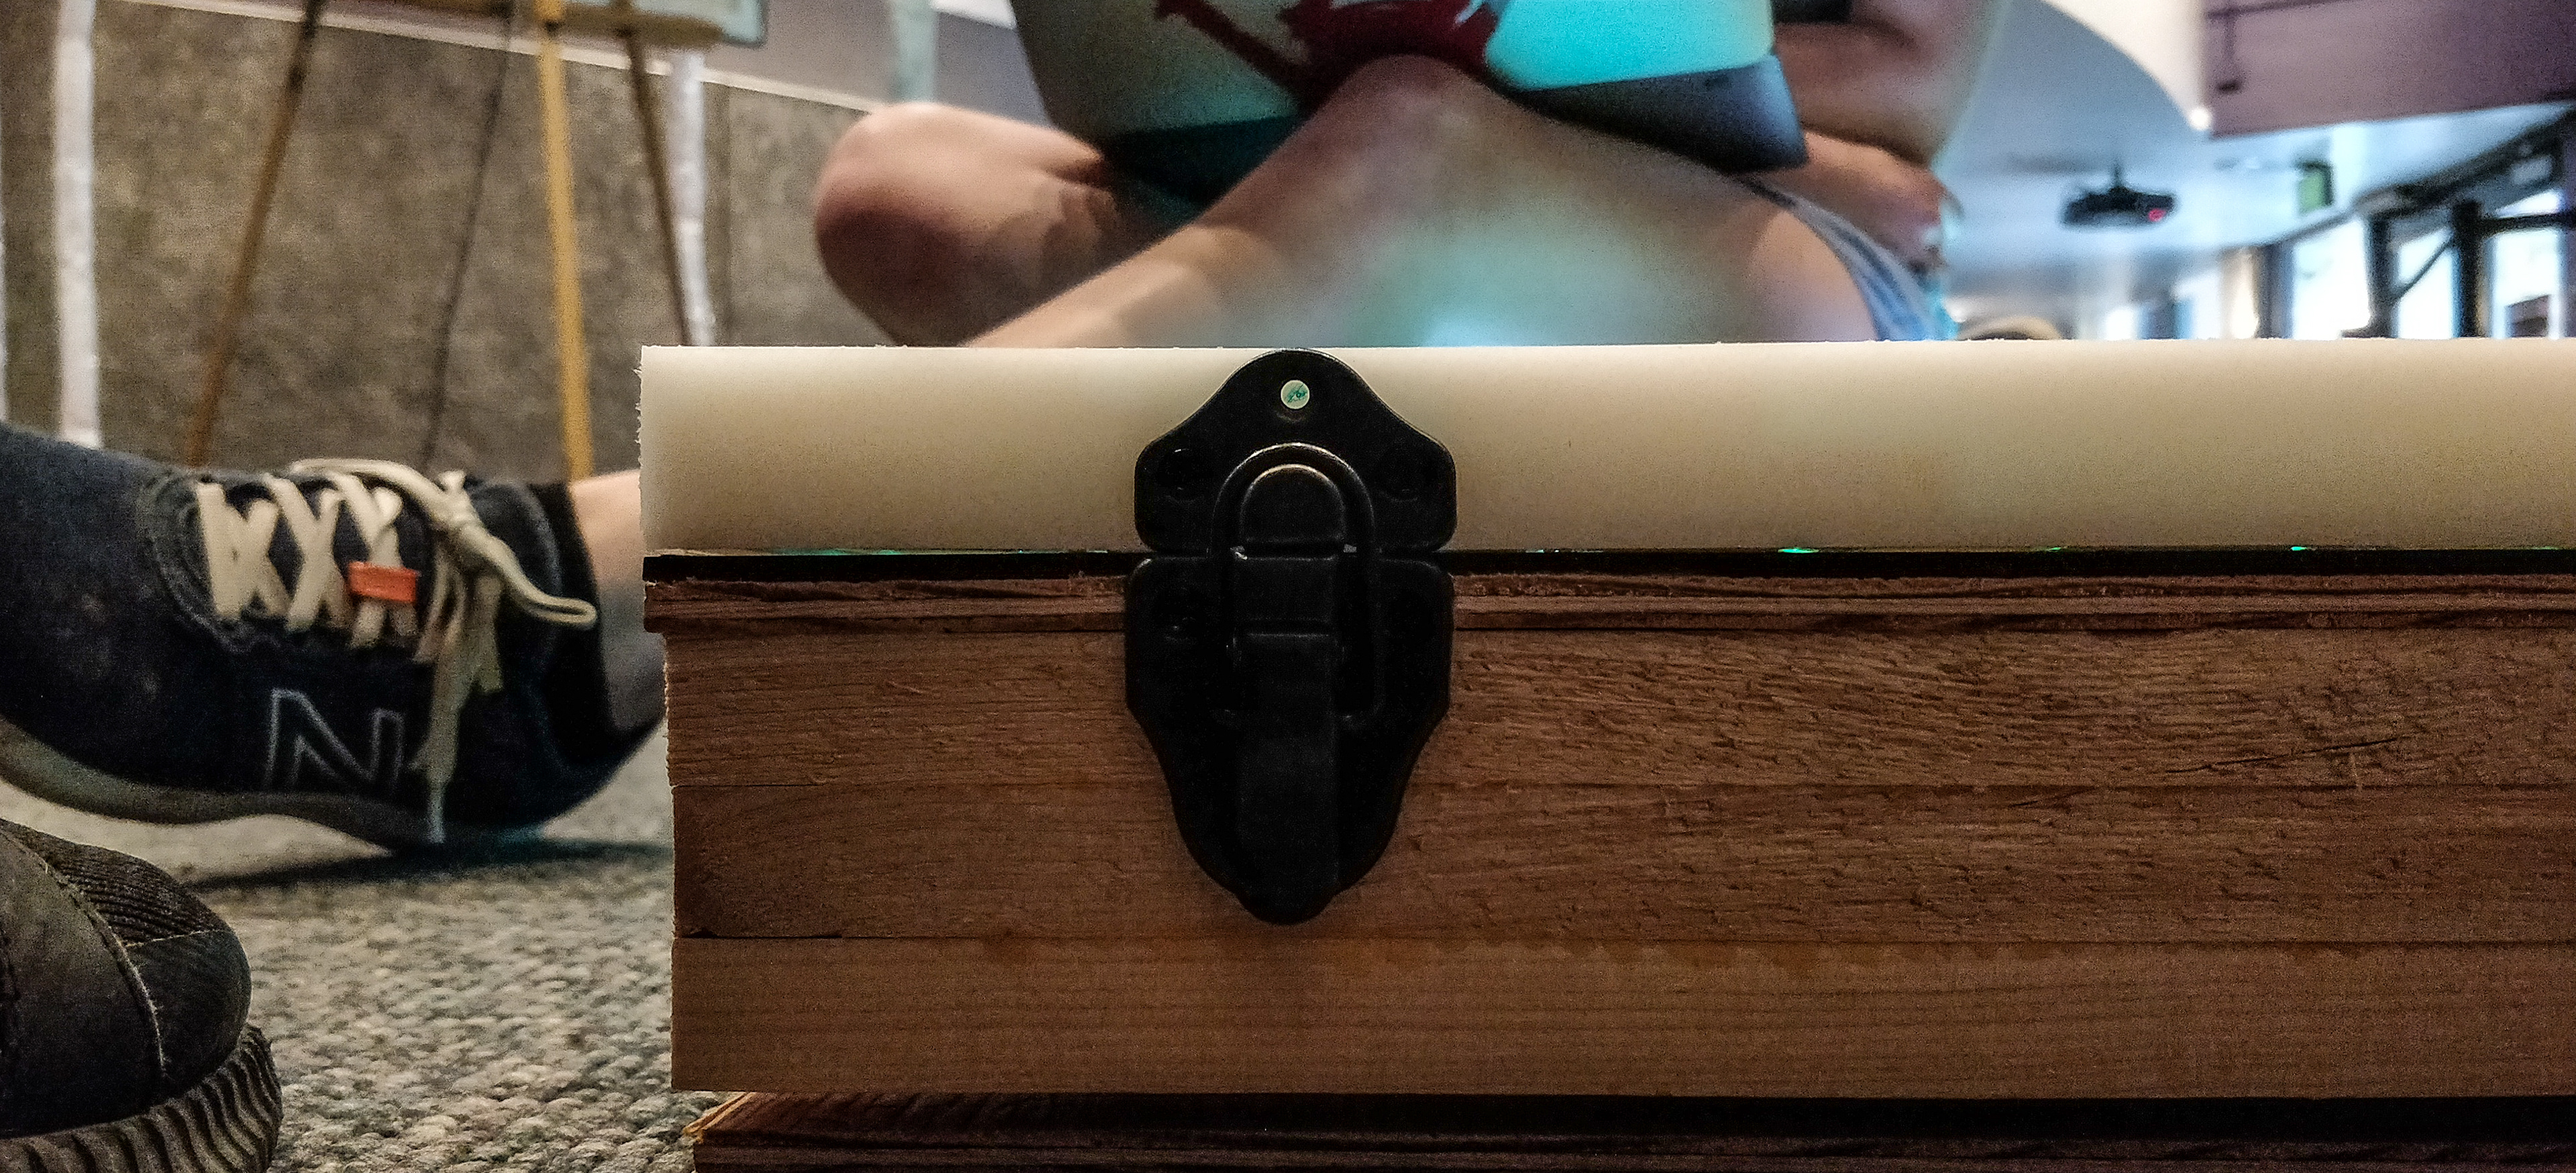
Prototype clamp to hold the HDPE on top of the floor panel.
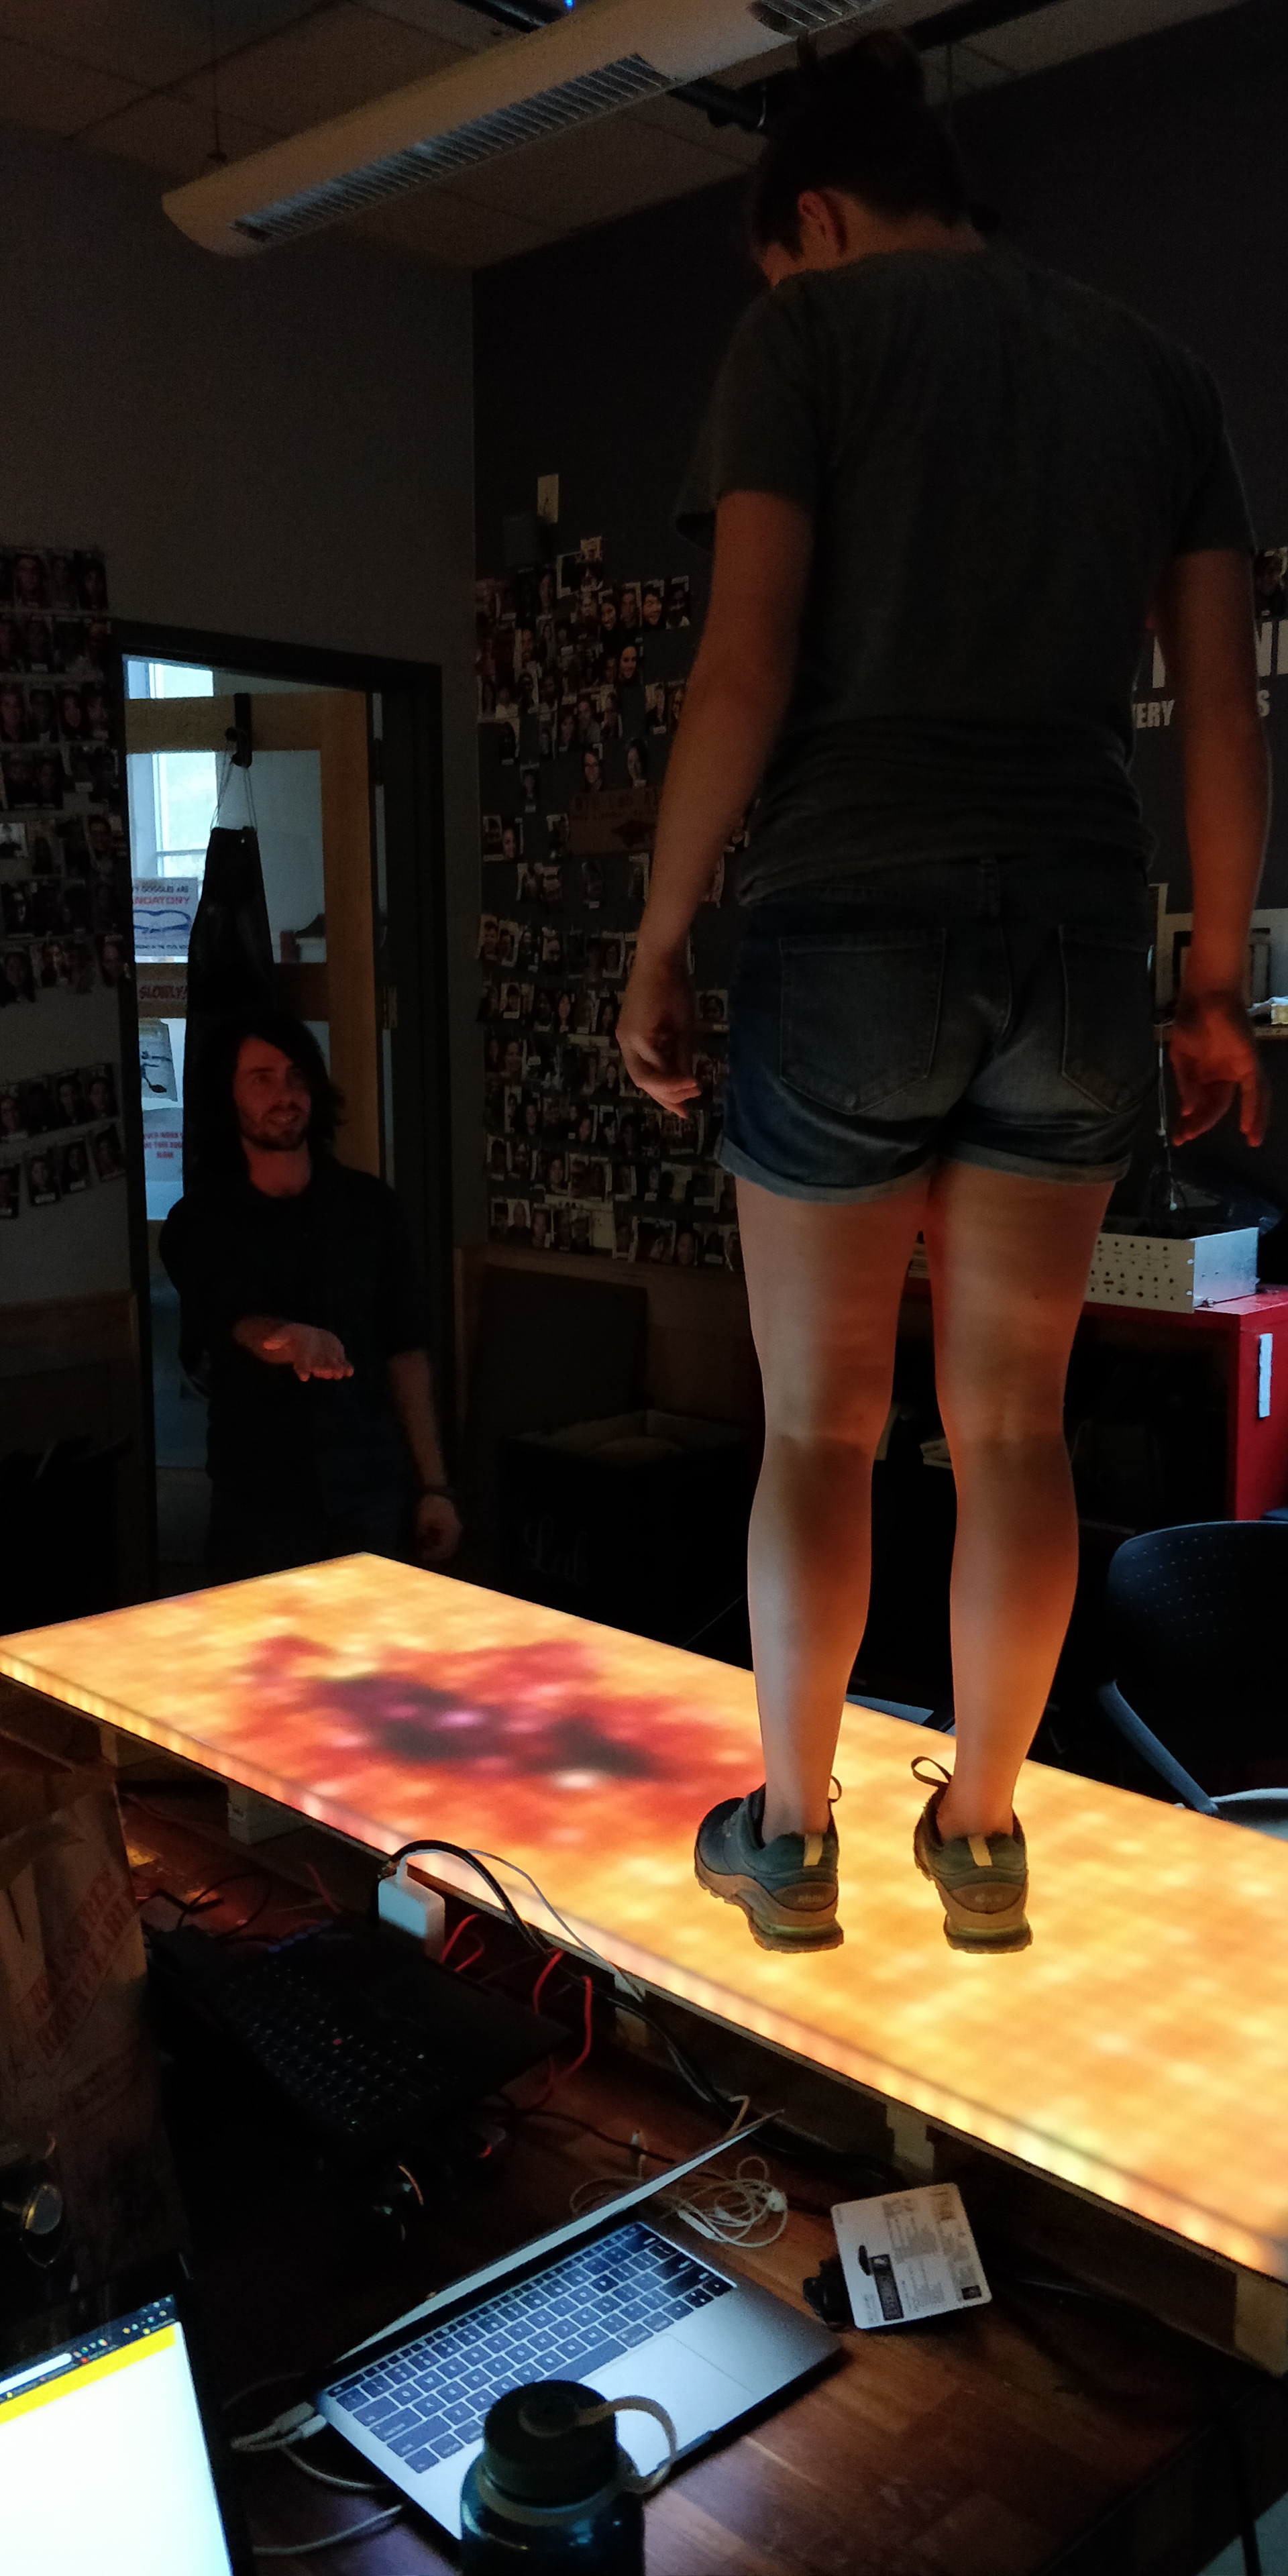
Standing on a floor panel.
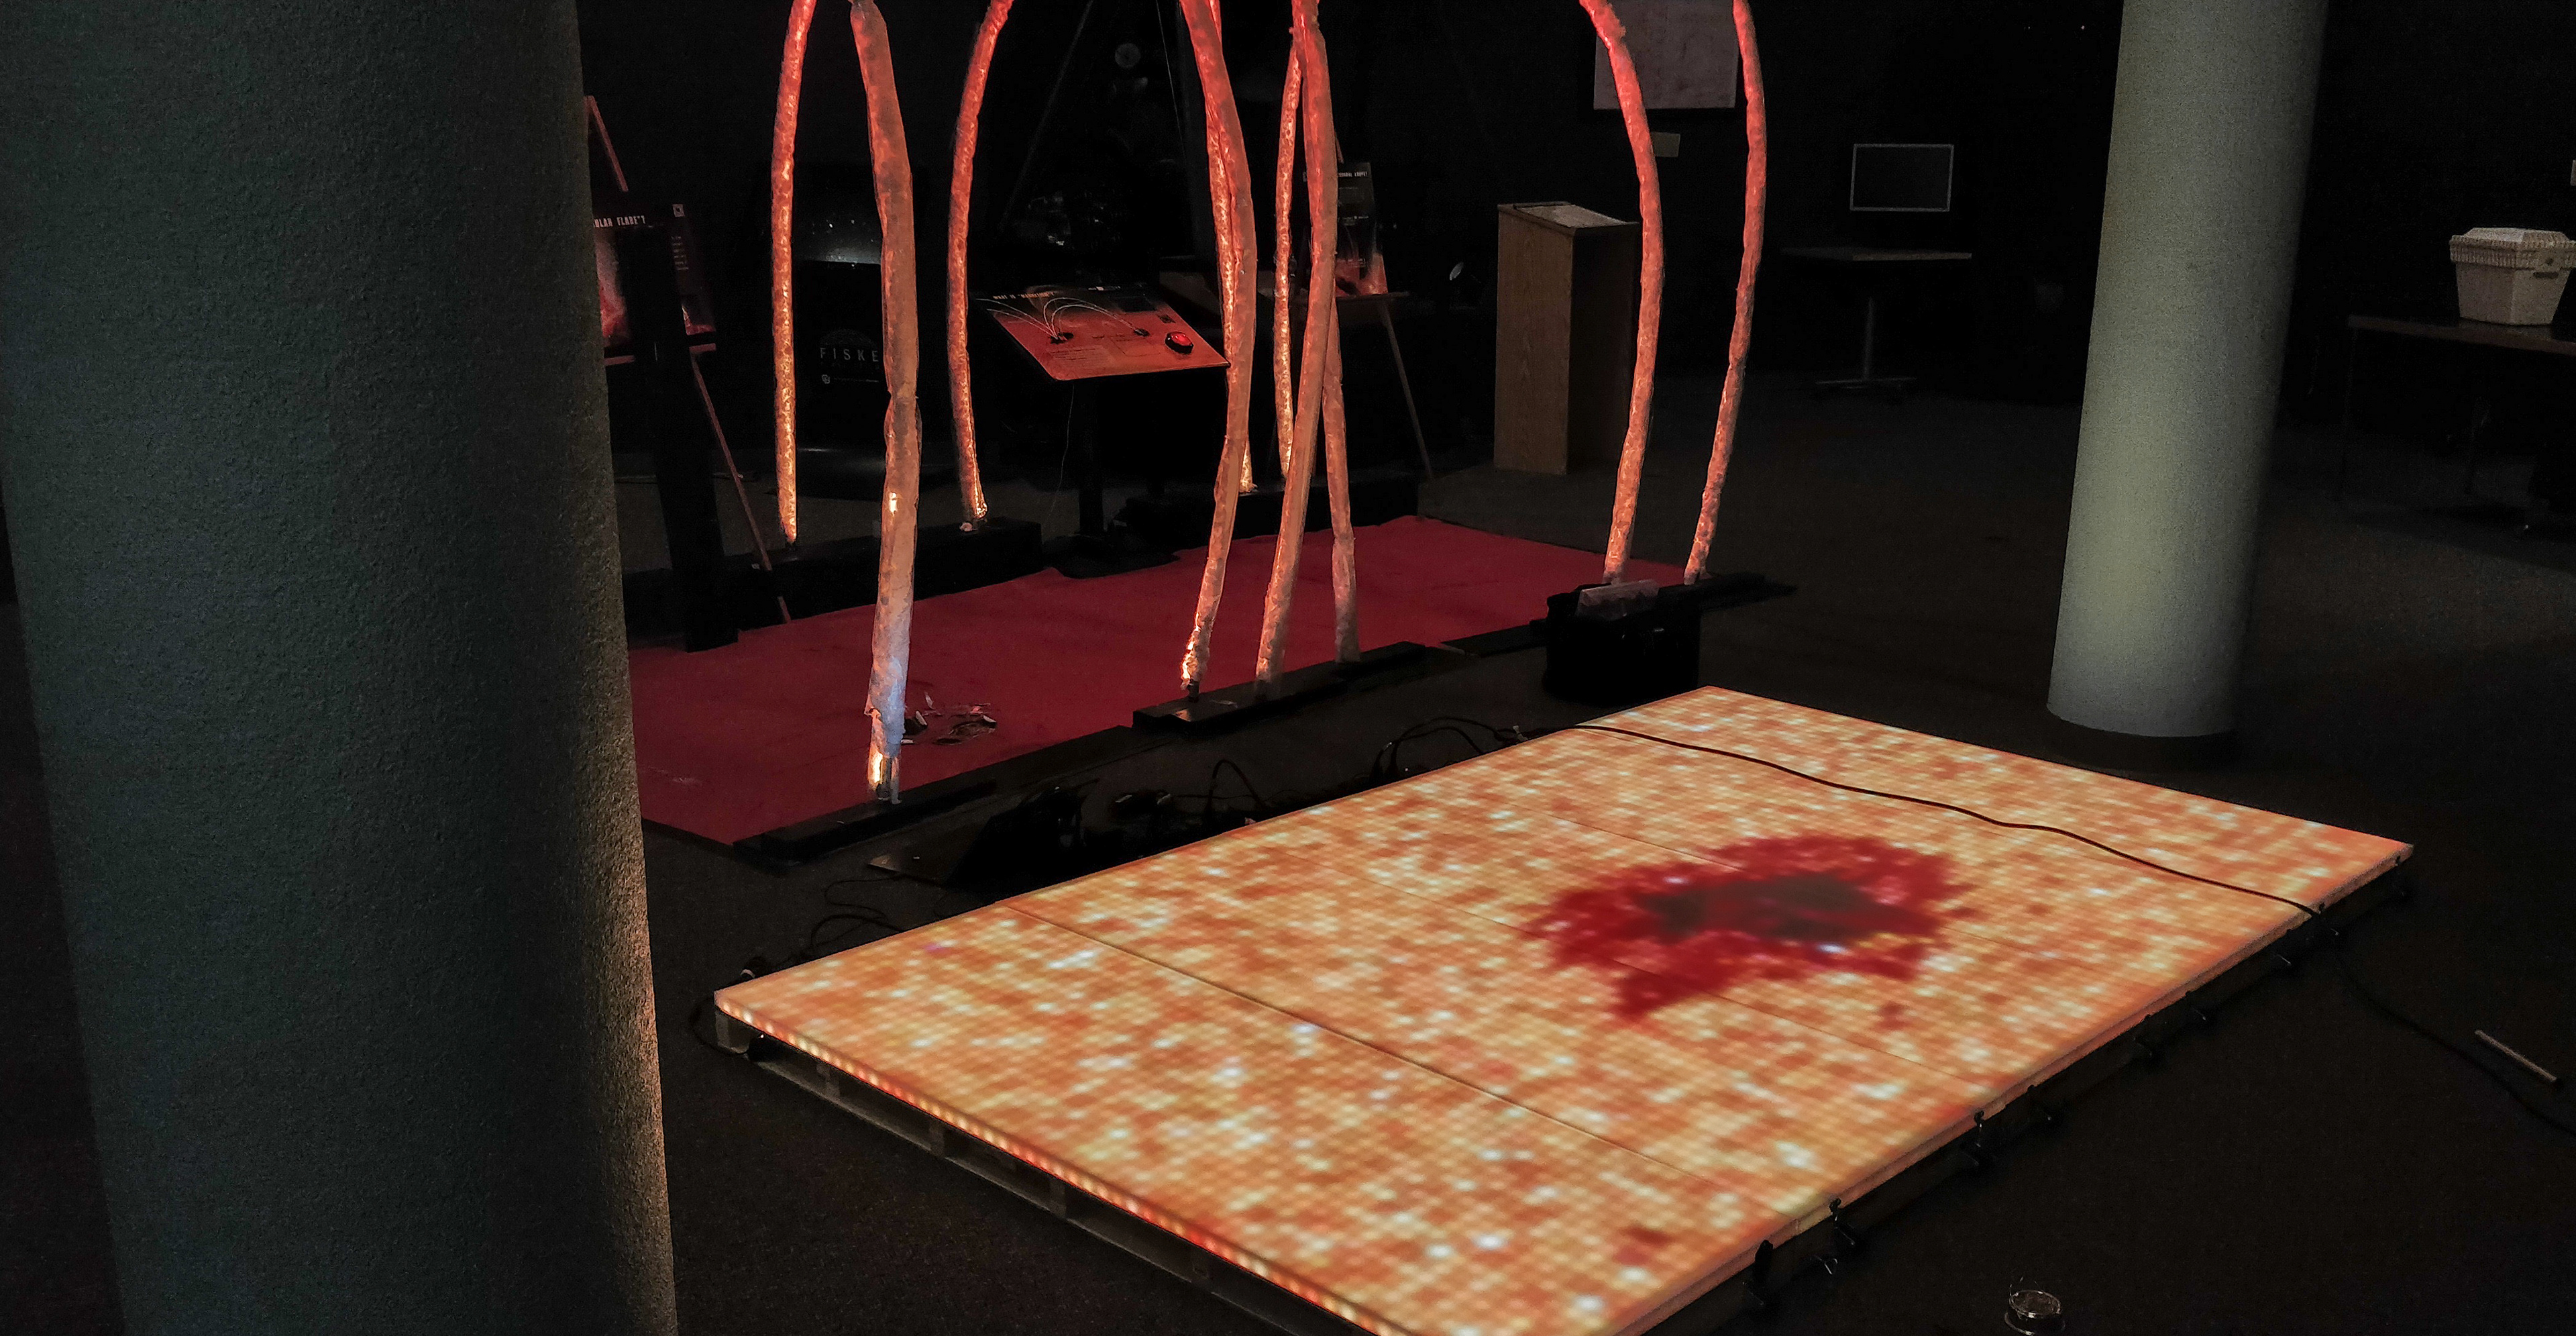
Completed panels before installing under the loops.
After getting to that point, one of my main tasks for the later build was creating a way for the loops to securely attach to the panels, but still be removable. After going through many iterations, I decided on a bolted piece of CNC'd HDPE. (Process left to right)
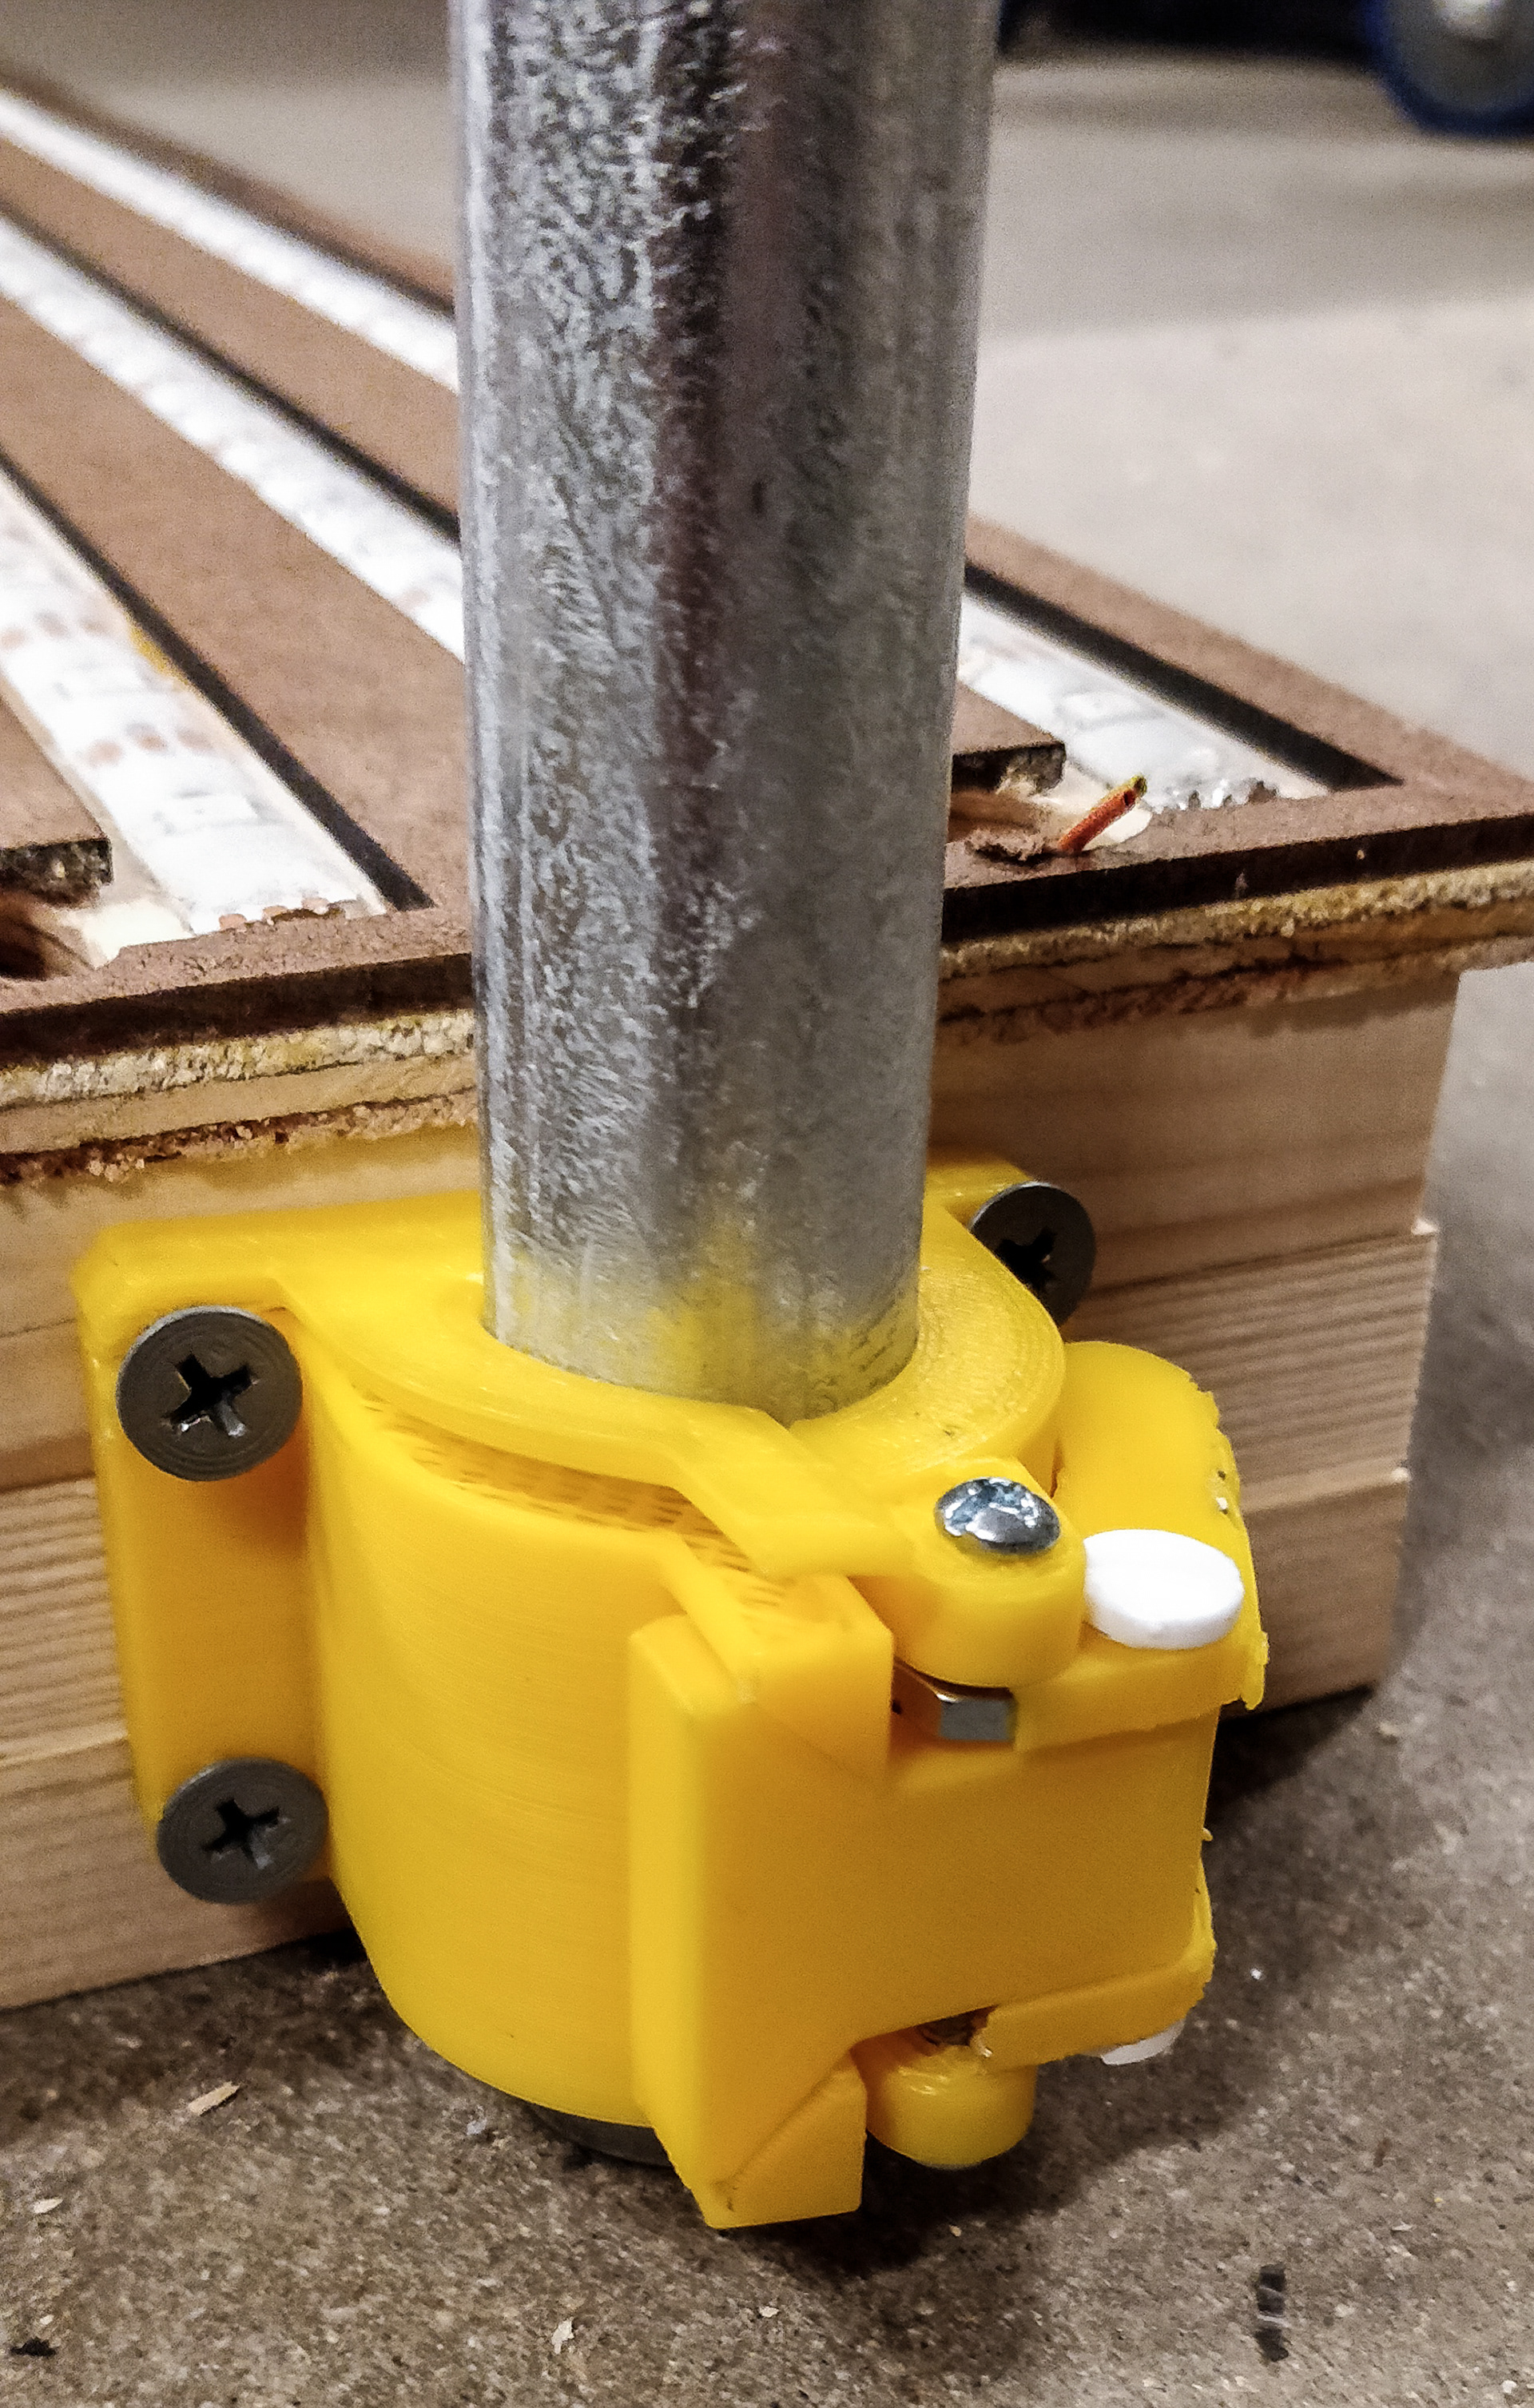
3D-Printed quick release latch.
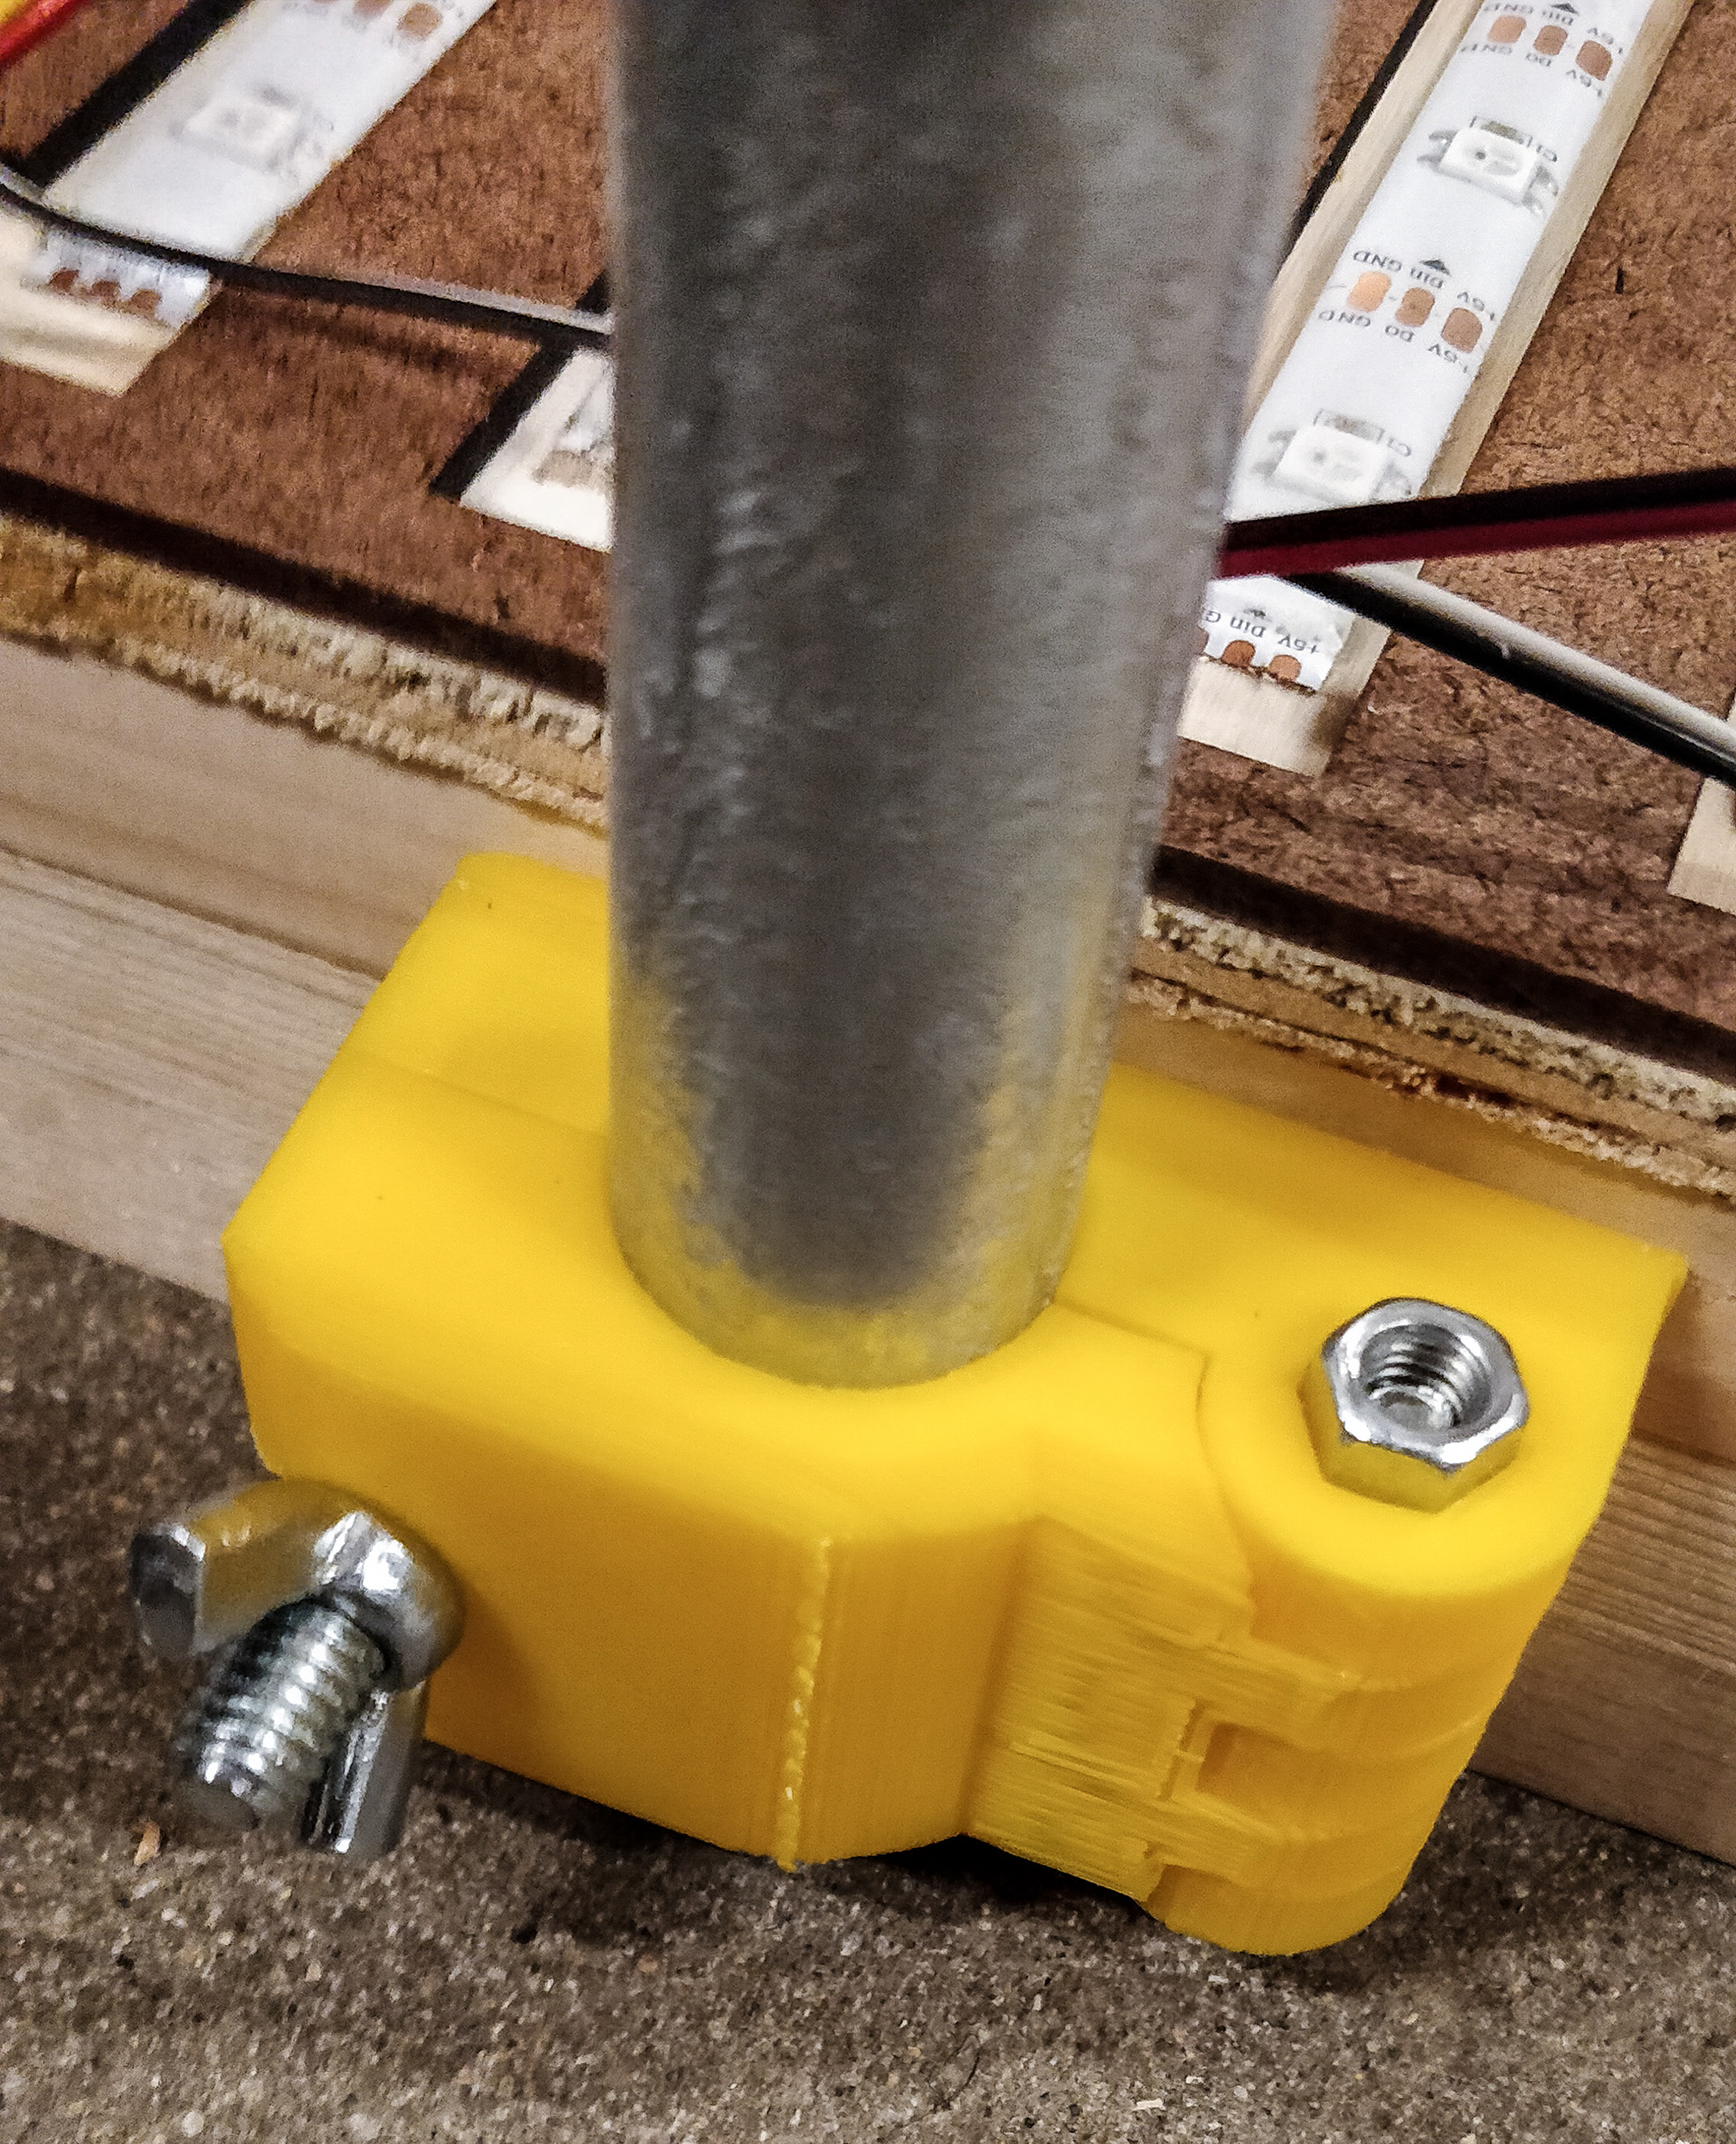
3D-printed clamp latch.
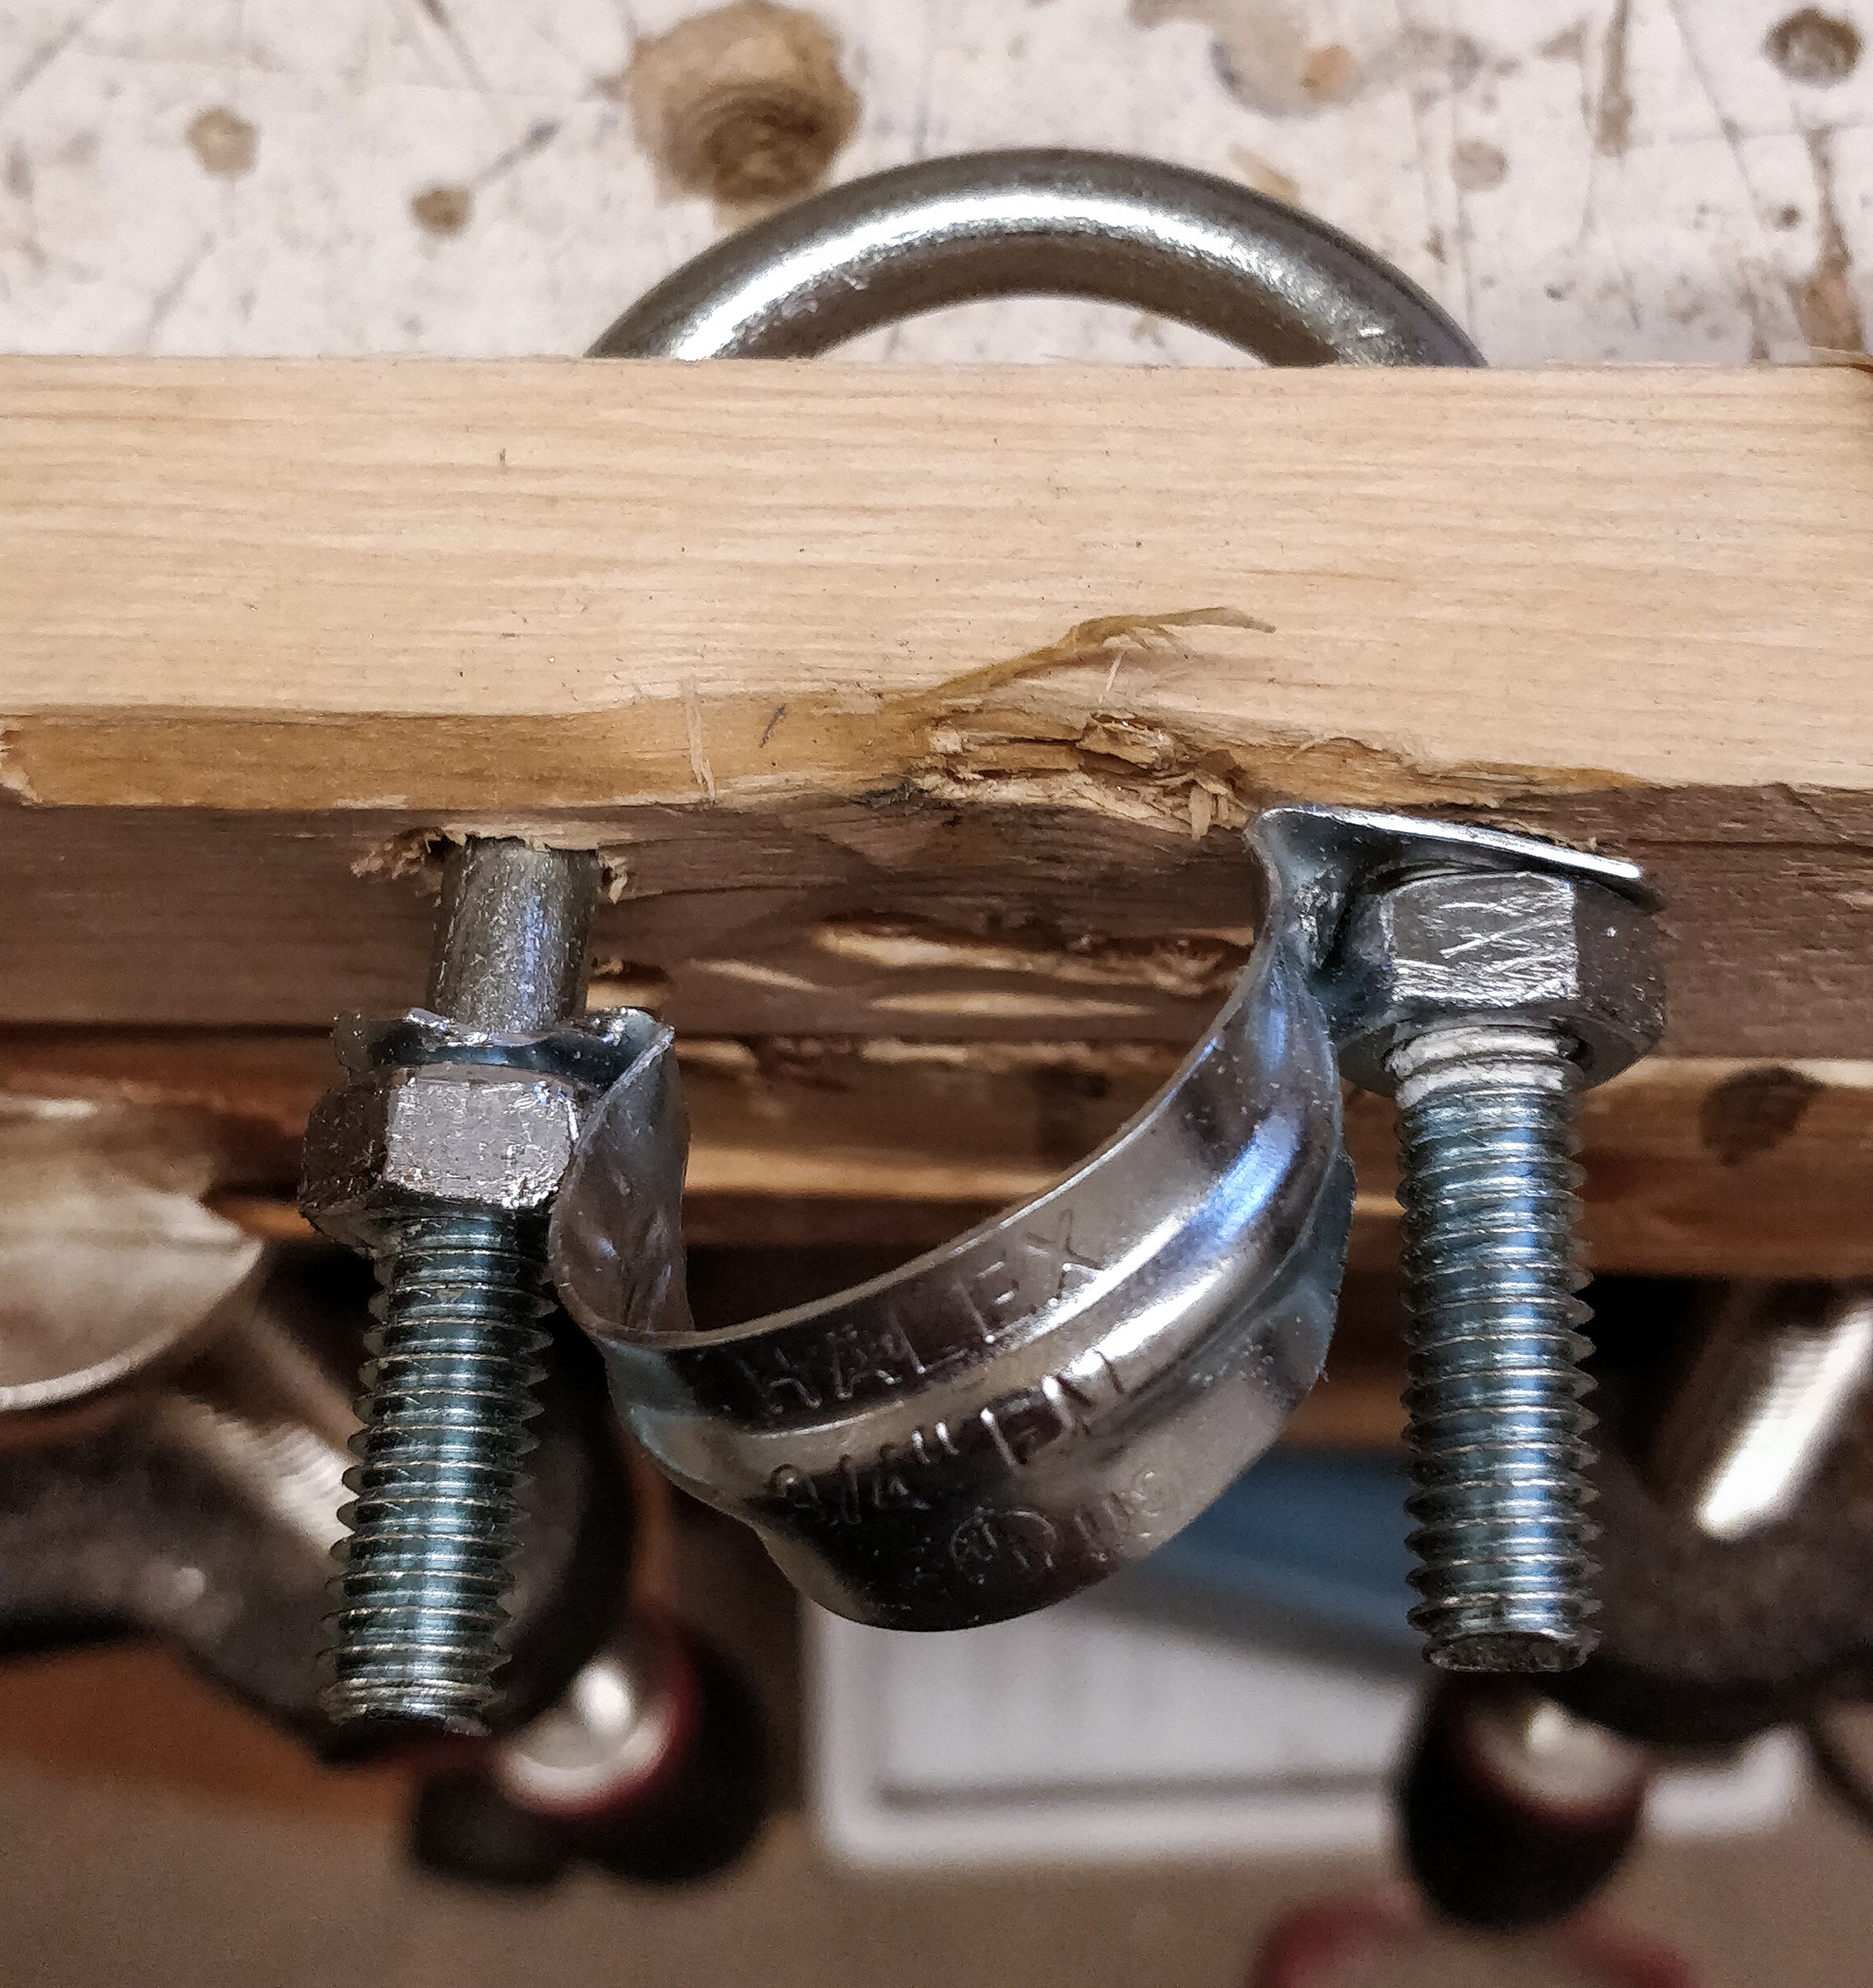
Conduit holder.
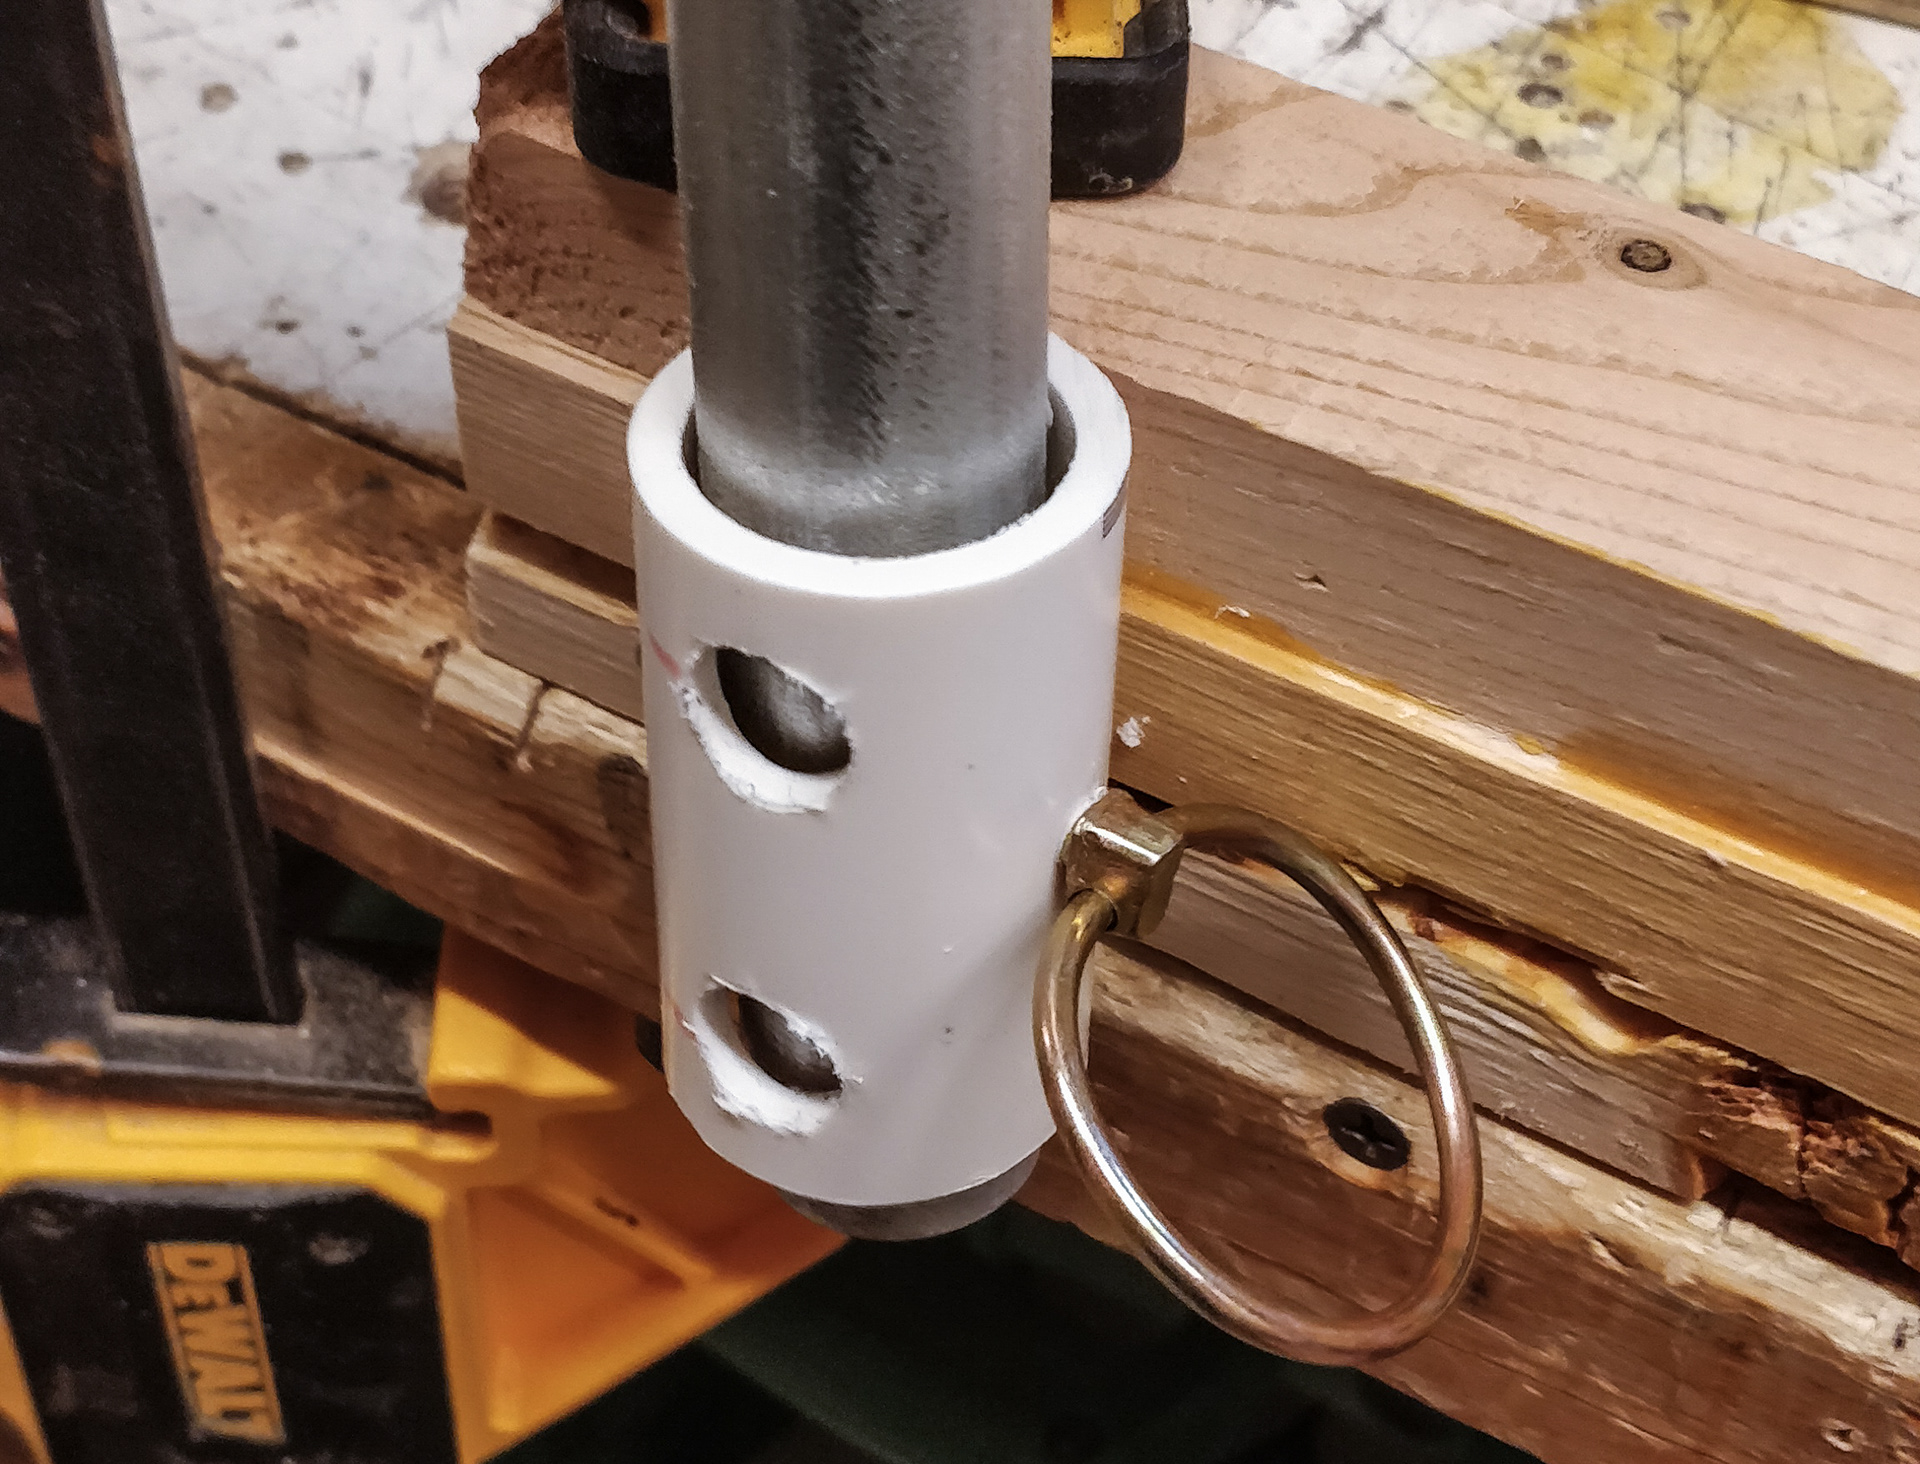
PVC with lynch pin.
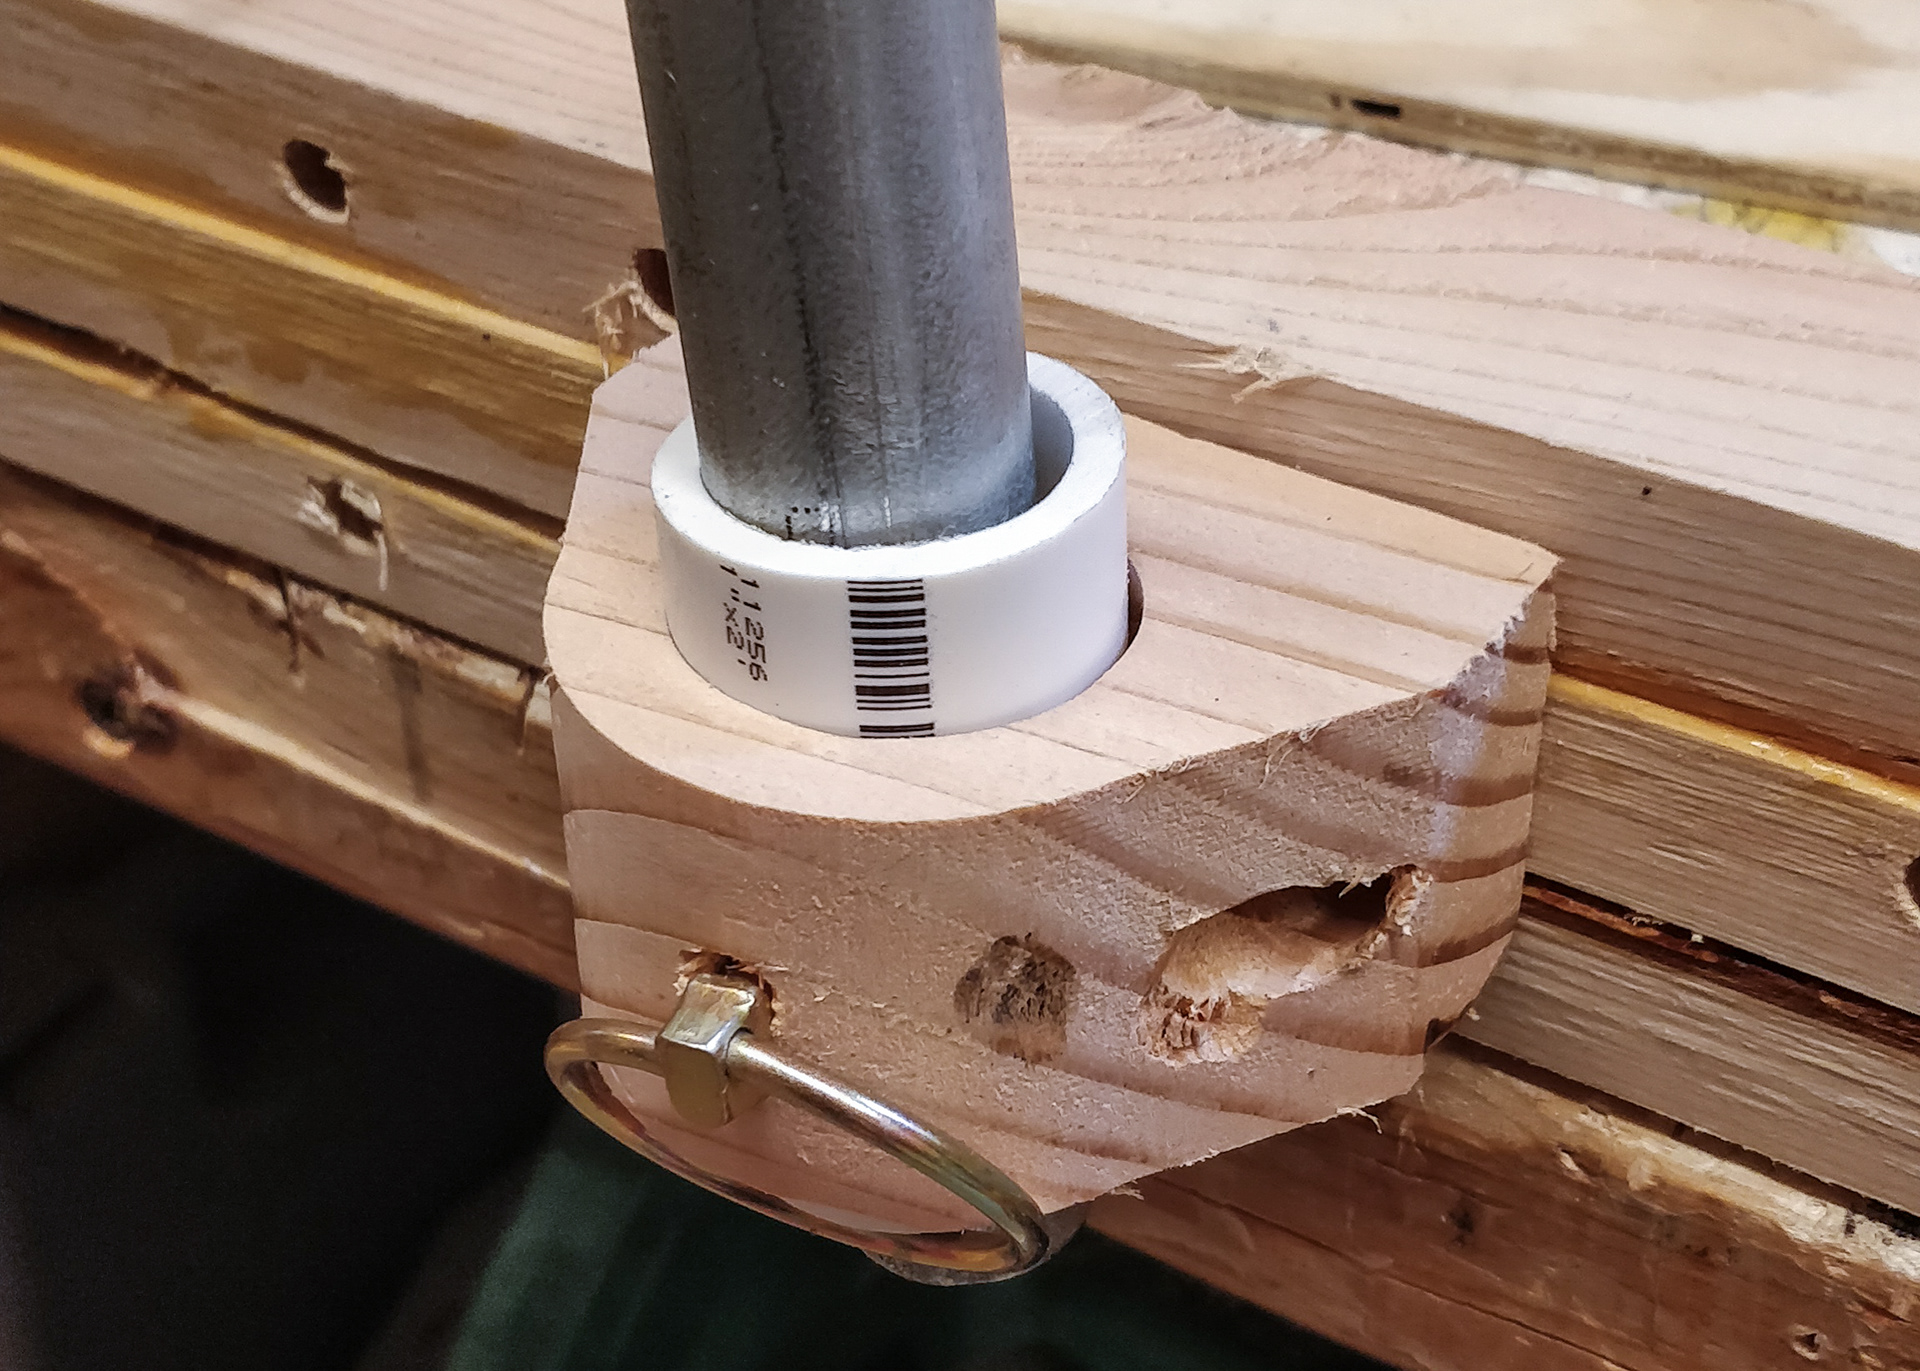
Wood-supported PVC with lynch pin.
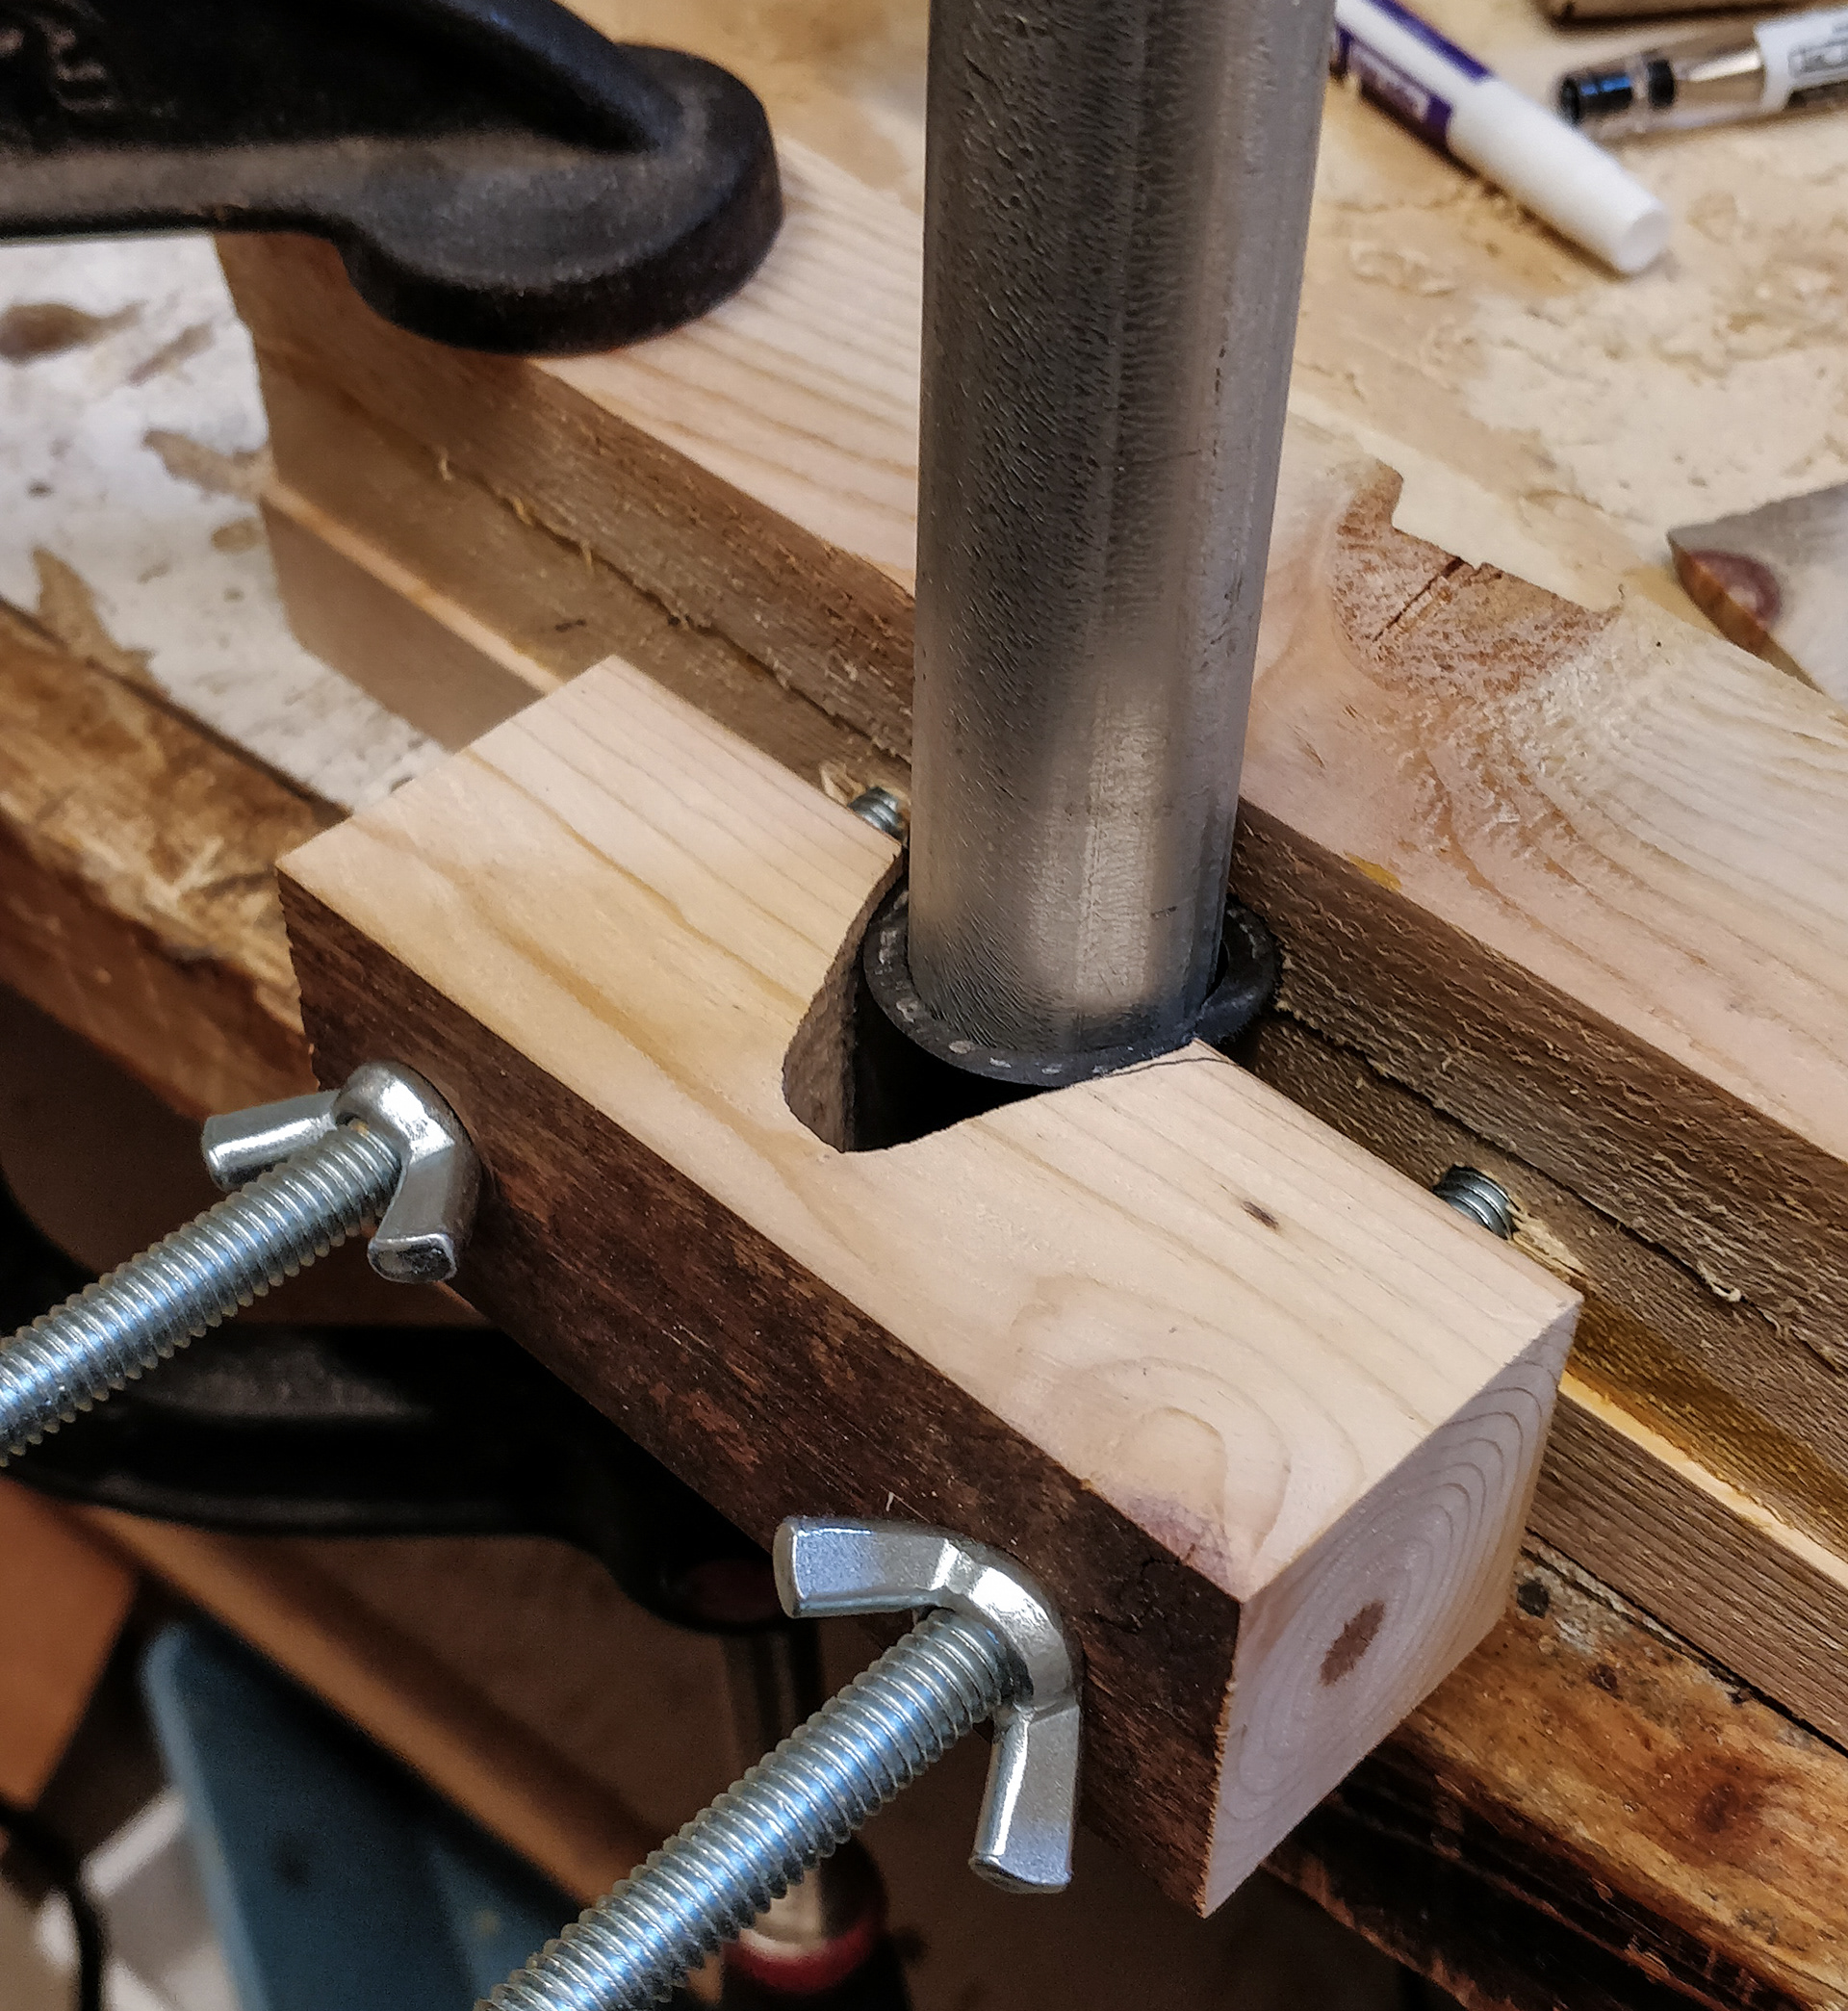
Angled wood block.
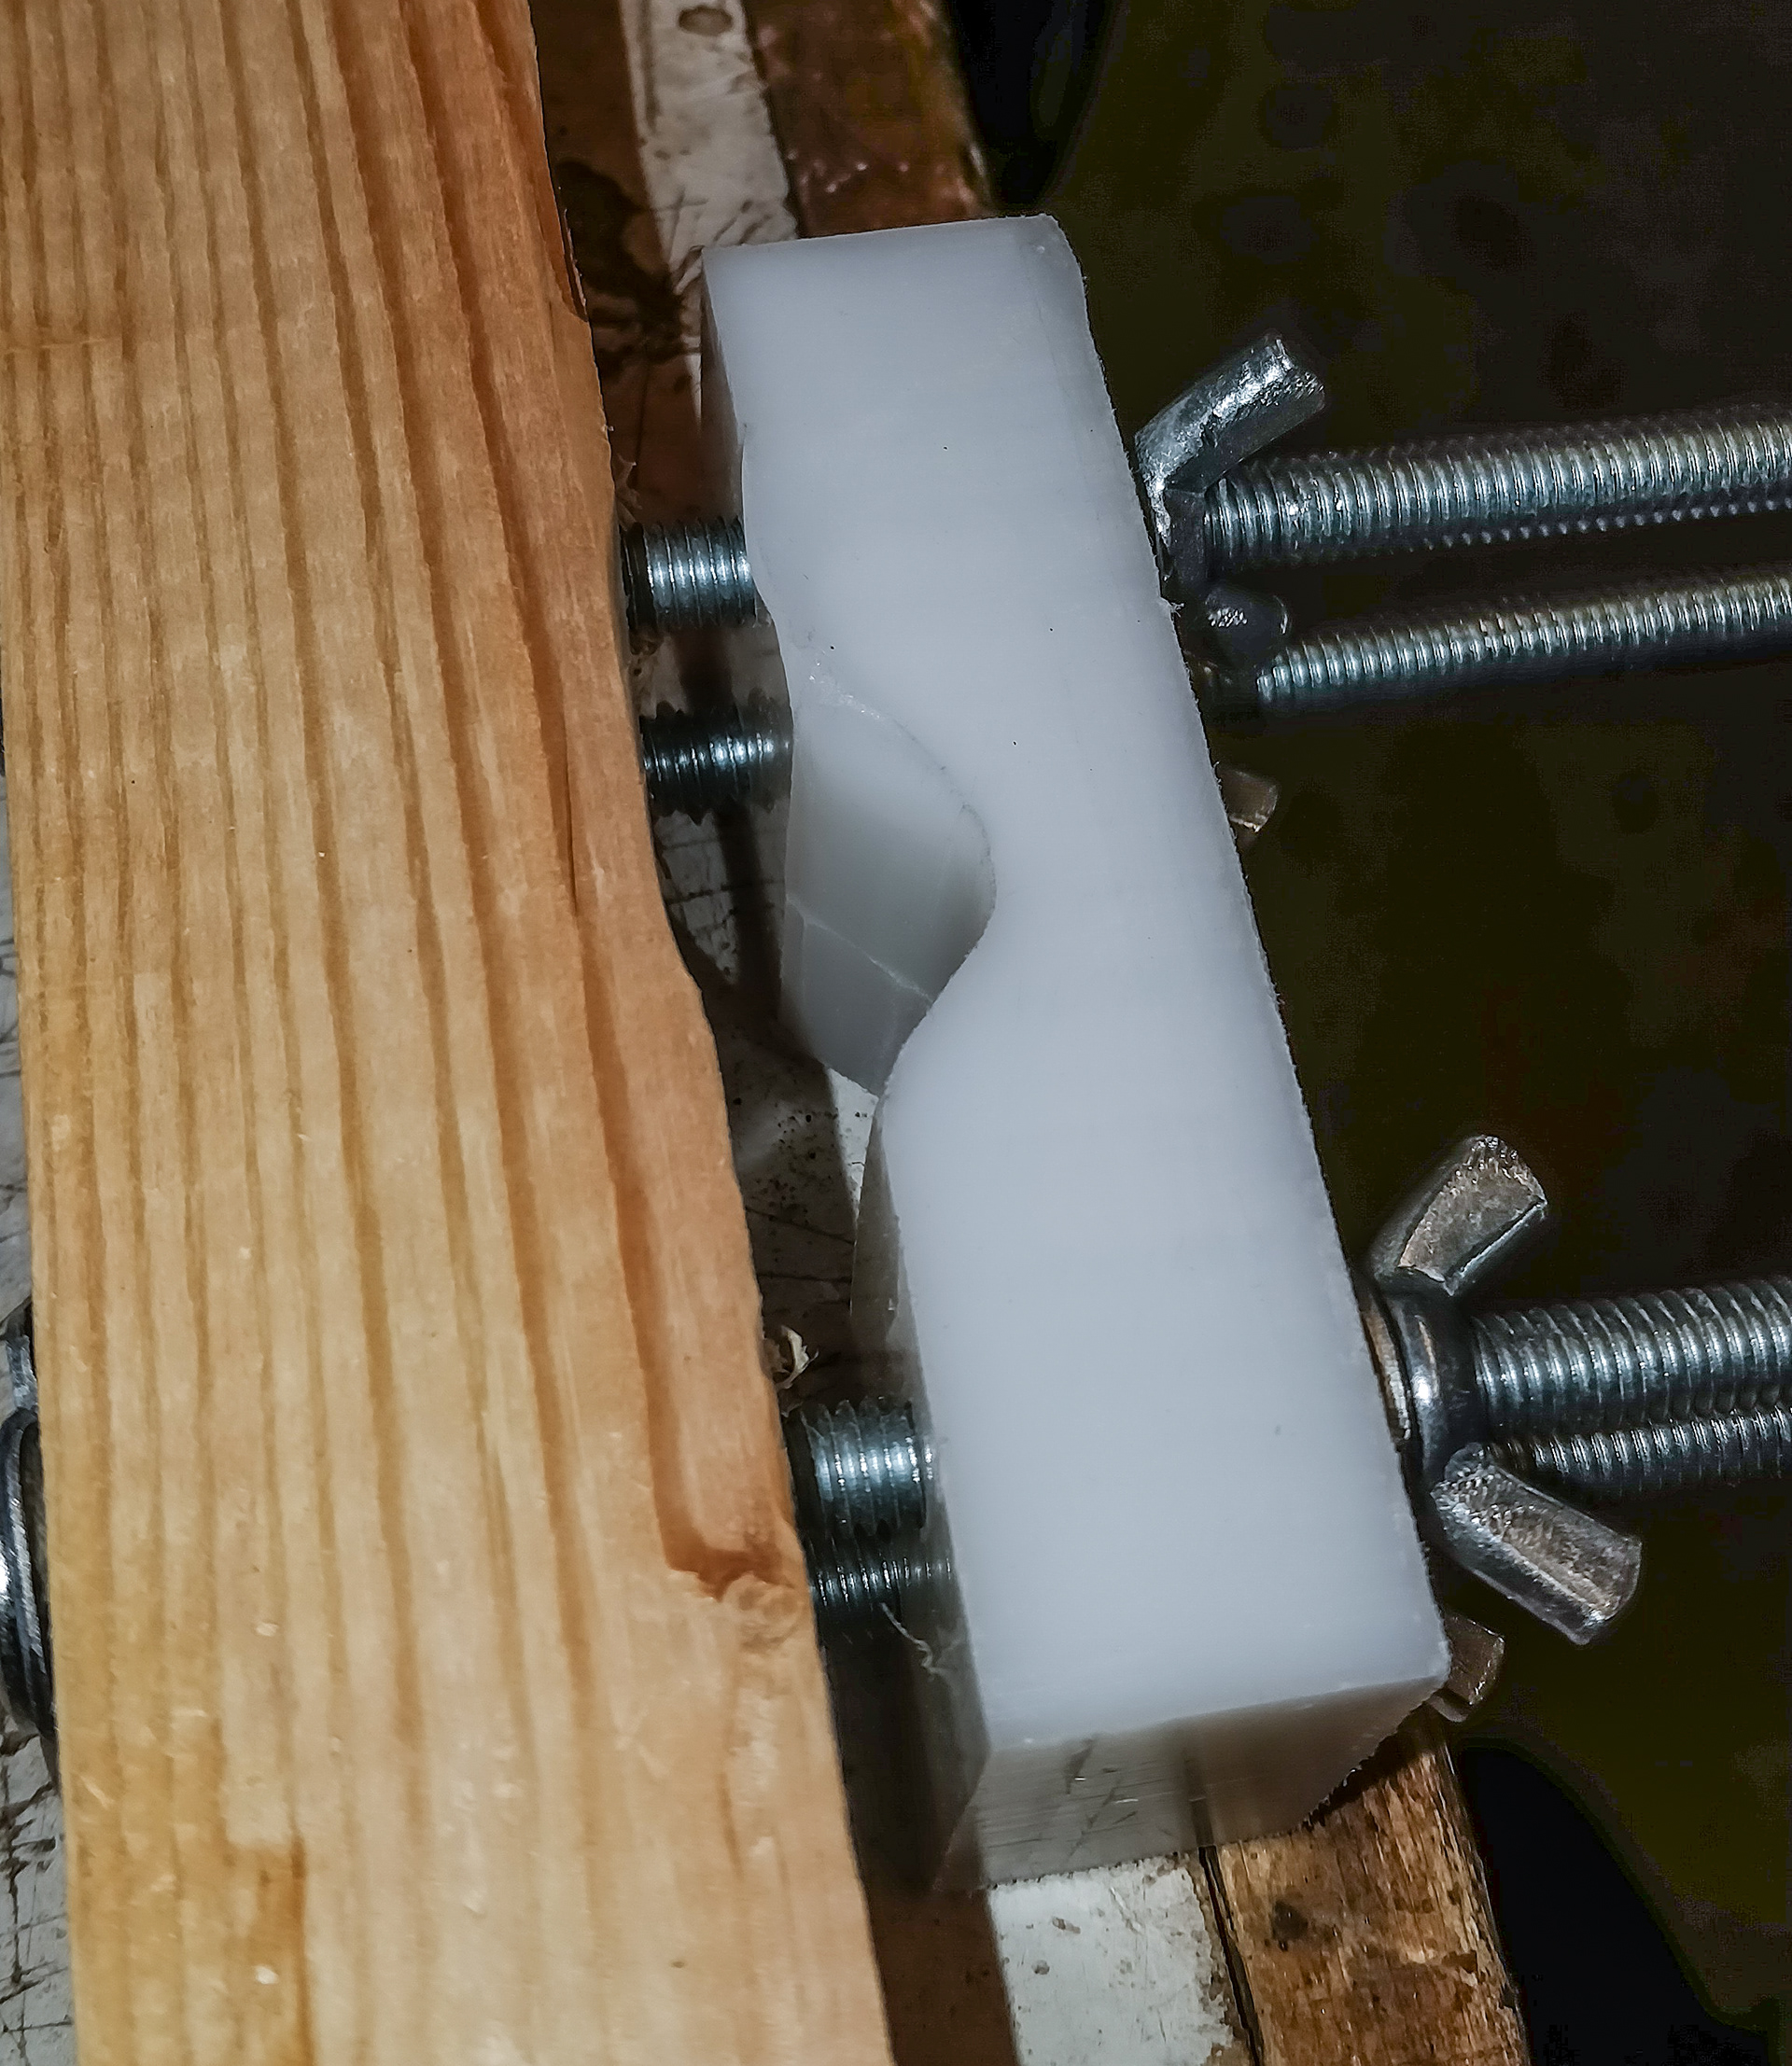
Final CNC'd HDPE block.
results
The exhibit is up in Fiske and designed to be easily disassembled and stored when they host large events. Each panel has a garage-door-style detector that tells the Raspberry Pi to spawn sunspots where the beam is broken. My partners in the project were Anna Lynton, Pete Pascente, Justin Trupiano, and Juan Andrés Molina.